How to Paint Flowers: A Step-by-Step Guide to Painting Realistic Flowers
Painting flowers is less about a perfect petal and more about seeing shape, value, and soft edges. Here is the practical method for oil and acrylic, plus the rules that make flowers read as real.


To paint realistic flowers, do five things well. Set up a clear, well-lit reference and study each flower’s basic shape. Choose a method that fits your medium, subtraction for oil, a dark-to-light block-in for acrylic. Establish one focal point so the eye knows where to land. Keep your edges soft, because nature has no outlines. And build your shadows from mixed complementary colors instead of black. Get those five right and your flowers will read as alive, not as flat copies.
Here is the thing most beginners get backward: they chase the perfect petal before they have the shape, the value, or the focal point. A flower is not a hundred tiny details. It is a few large shapes with light moving across them, and a couple of small details placed last. Once you paint it in that order, big shapes first and detail last, the whole subject gets dramatically easier. This guide walks you through the setup, the oil and acrylic methods, and the handful of rules that separate a believable flower from a stiff one.
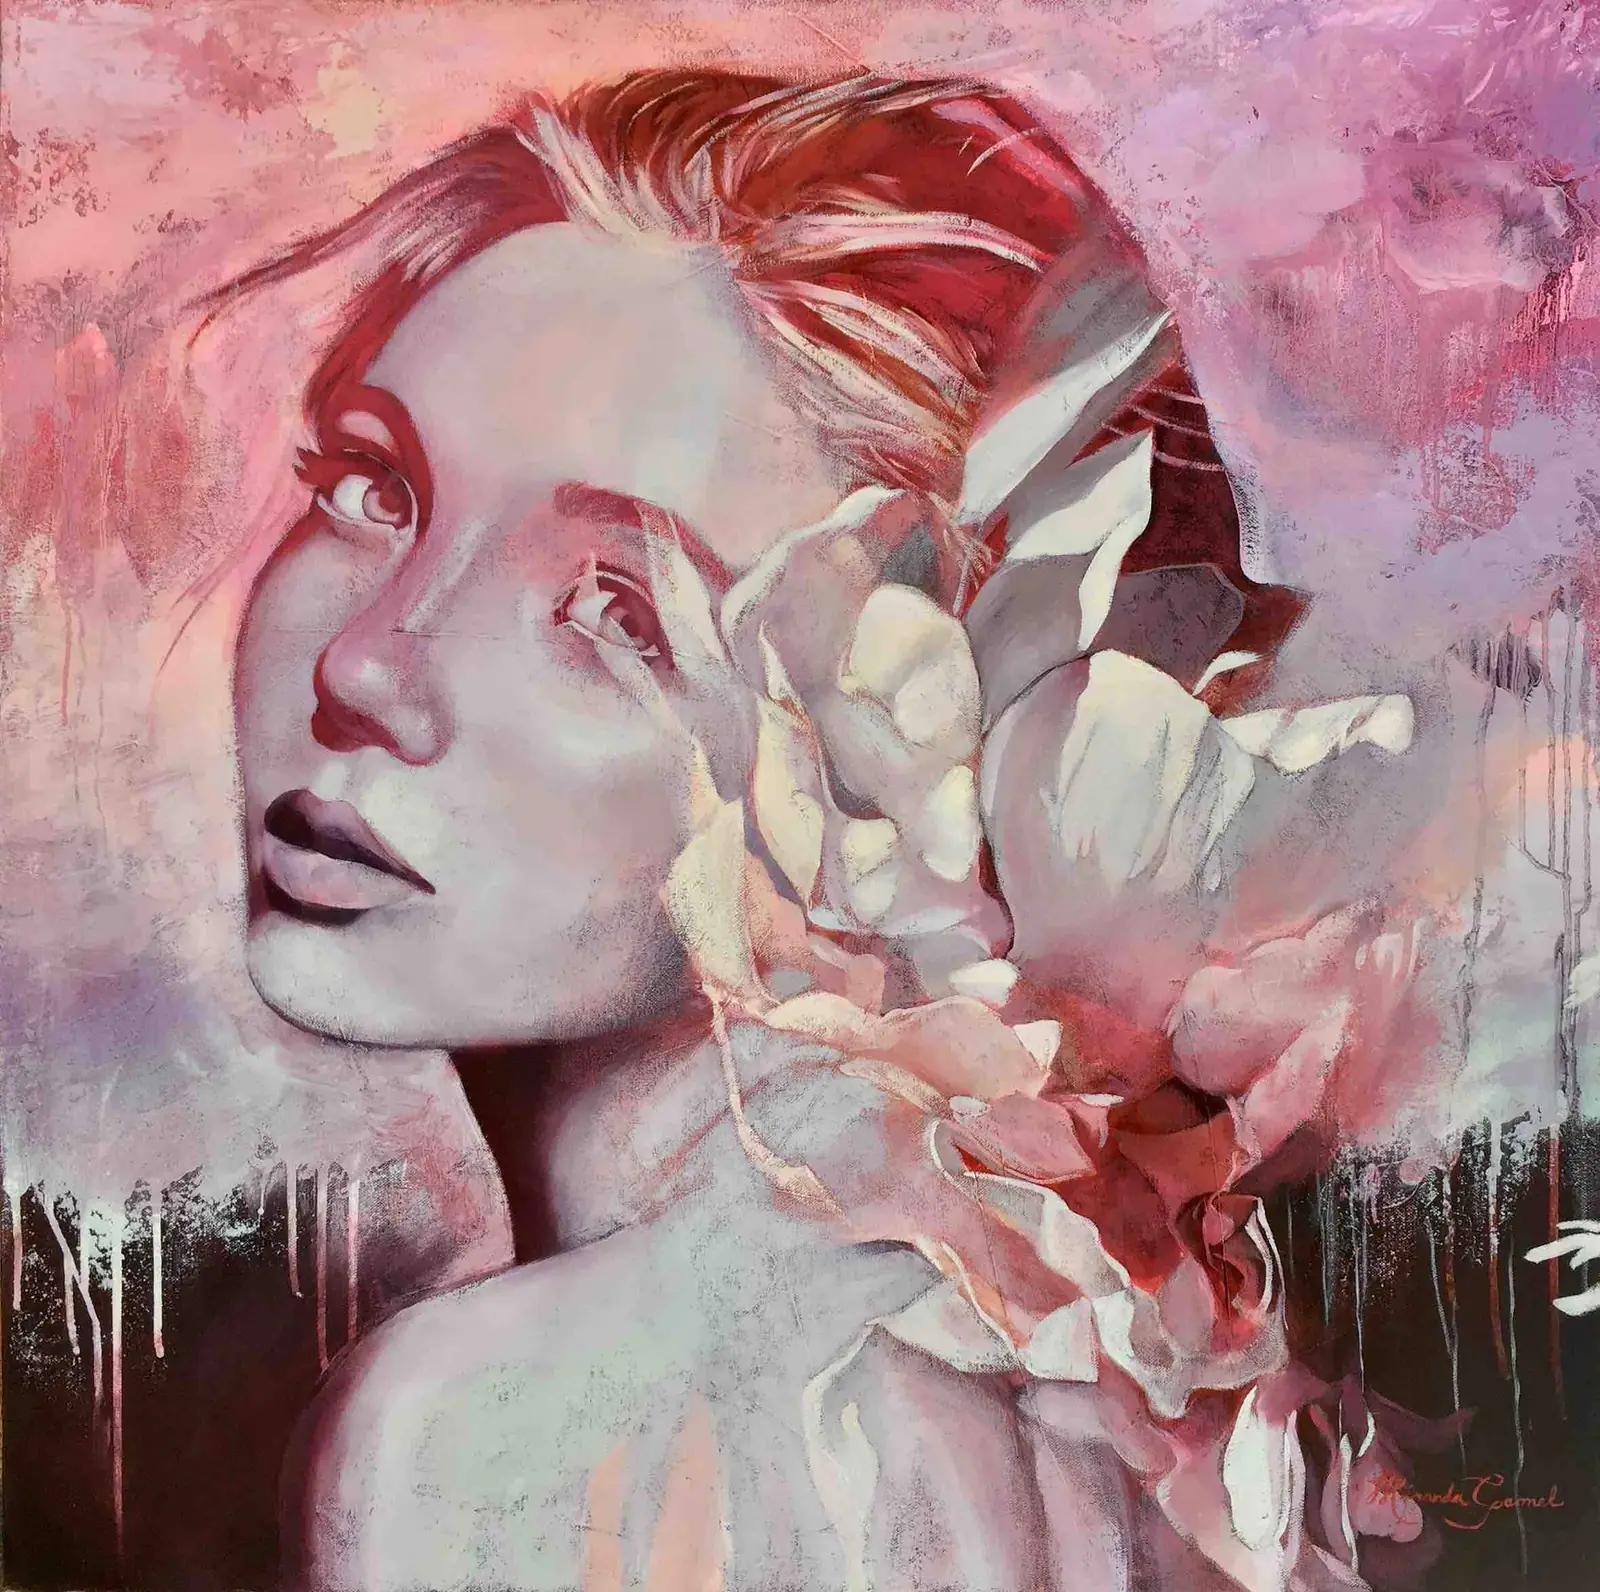
A floral piece built on soft edges and a clear focal point.
How do you set up a reference to paint flowers?
Build your own reference instead of pulling a random photo off the internet. You can find a flower photo online in seconds, but it is far more rewarding, and far better for your painting, to work from flowers you arranged and lit yourself. Pick flowers from your garden or grab a fresh bunch from a local florist, trim the ends, and arrange them in a vase as your composition.
Then control the light. Use an adjustable lamp to cast light across the arrangement so you get distinct shadows and bright highlights, which is exactly the information a painting needs. Once it looks the way you want, take pictures. Get them in focus, and shoot lots of angles and a variety of compositions so you have options later. With a small gallery of good reference images, you are ready to paint. If you want to go deeper on building a reference library you can actually use, see our guide on reference photos for painting.
How do you paint flowers in oil?
In oil, the cleanest path to realism is the subtraction method. Oil is a surprisingly forgiving medium, which is good news for a nervous beginner, and subtraction takes advantage of that. Cover your canvas with a single base color, raw umber works well, and then lift and remove paint to reveal the image in detail, working from that toned ground rather than from a blank white surface.
Once that subtraction layer is dry, glaze over it with accurate color, letting the value structure underneath do the heavy lifting. Add your final highlights last, on top of the dried color. Throughout, accentuate the flowers you have chosen as your focal point and deliberately fade back the flowers around them, so the eye goes where you want it to go. If the subtraction approach is new to you, the subtractive underpainting guide breaks it down further, and the broader essential oil painting techniques post covers the layering logic behind it.
How do you paint flowers with acrylic?
With acrylic, you have two good options. The first is to mimic the oil subtraction method by mixing a retarder medium into your acrylics, which slows the drying time enough to let you subtract paint from the canvas before it sets. That gives the fast-drying medium some of oil’s patience.
The second, and often the most successful, is a block-in method. Start with a thin wash over the whole canvas, then block in the flower working from your darks toward your lights. The key is to keep your shapes very general at the start and resist the urge to add detail too soon. Detail comes later, only once the big shapes and values are correct. If you are still deciding which medium suits you, our breakdown of the 5 key differences between acrylics and oil paint will help you choose with your eyes open.
What are the best tips for painting different flowers?
The single most useful habit is to study the shape of each flower before you paint it. Are the petals long and thin? Are there multiple layers? Is the center a flat disc or a raised cone? Knowing whether you are really painting circles or cones makes it far easier to replicate the form accurately, and it tells you which brushes you will need. A few more tips make a real difference across different flowers.
- Keep your source clear and visible. If you are painting from life, make sure both your flowers and your easel are well-lit. If you are painting from a photograph, print it out. Painting from a phone or screen tends to flatten the depth and color you are trying to capture.
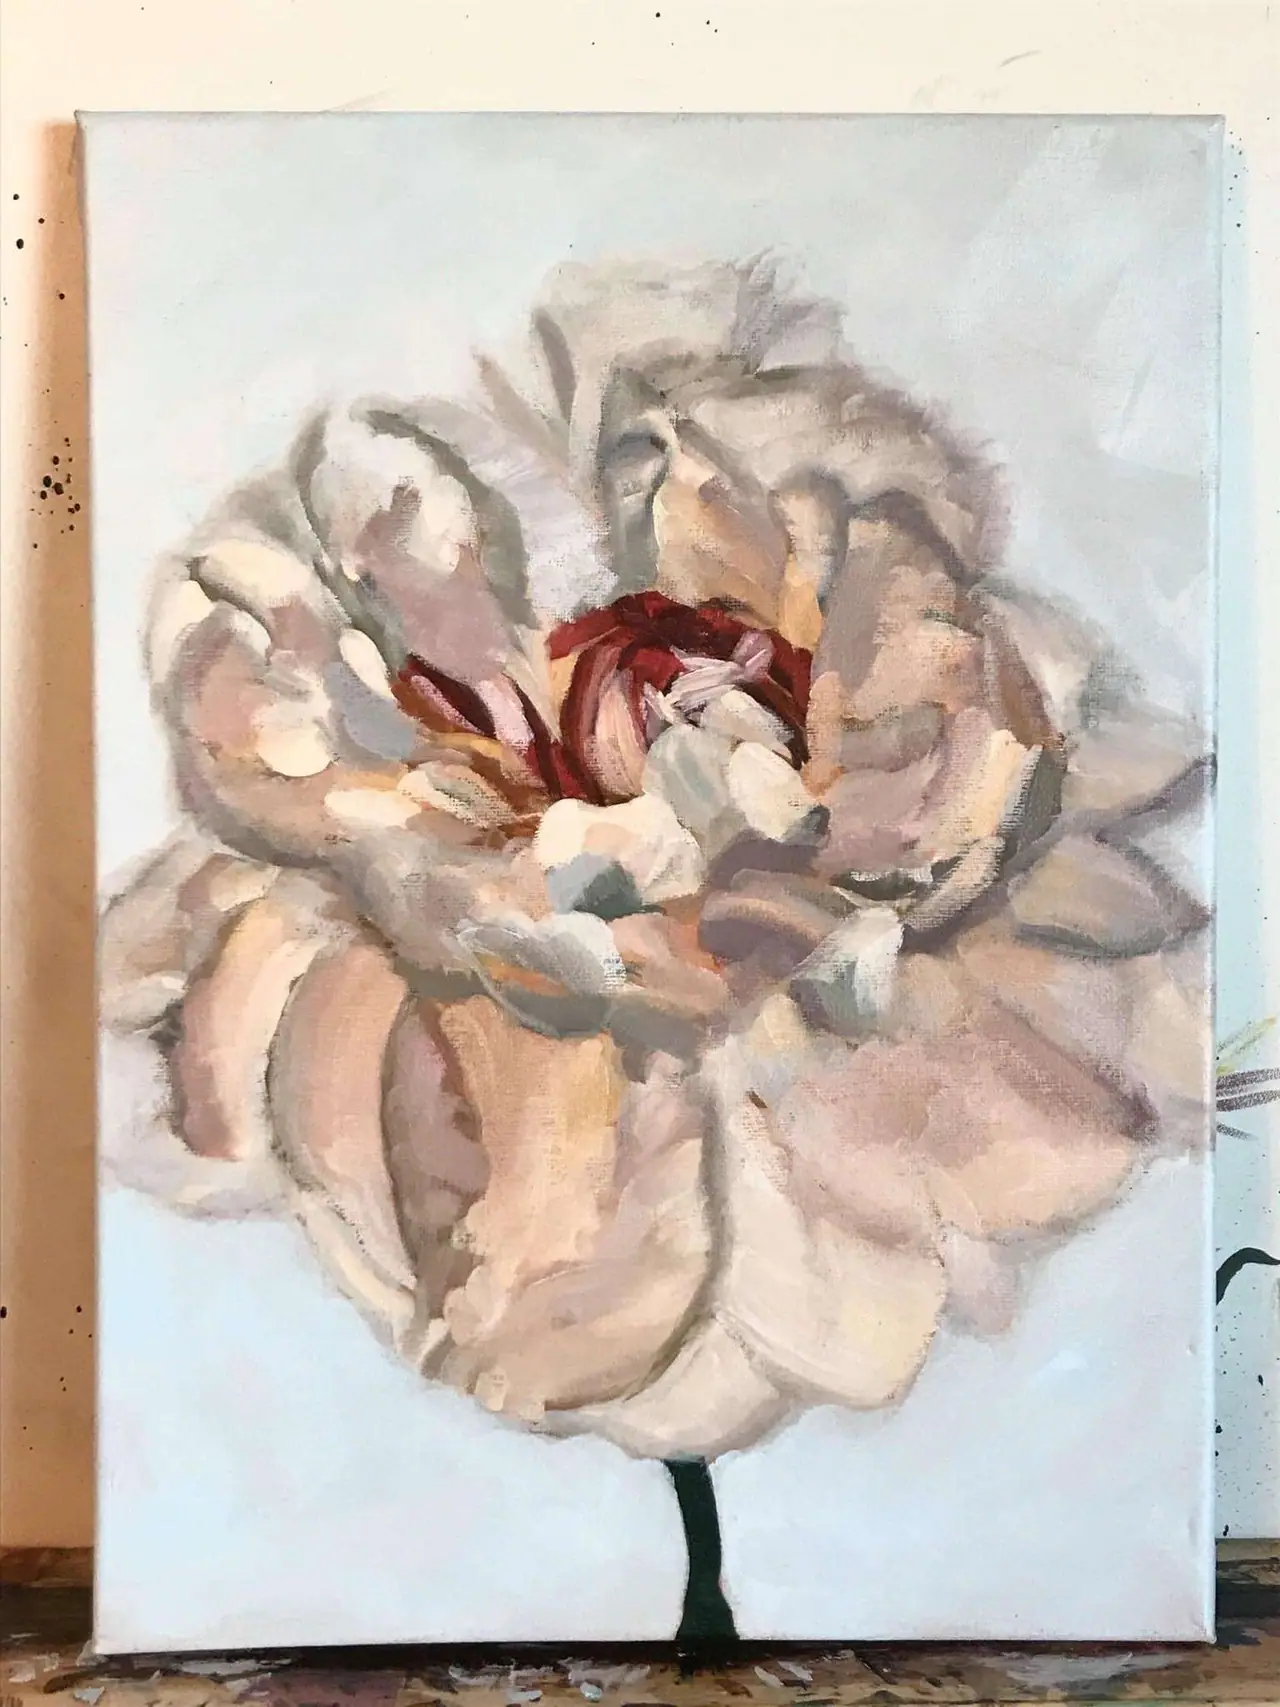
- Stock a wide range of colors and brushes. Even an all-white bouquet pulls in nearly every color on the wheel, because you will tint those white petals with subtle hints of color to make them feel real.
- Match the brush to the petal. Use the right brush for each area. A filbert, with its rounded tip, suits soft round-edged petals, while a larger round brush handles finer, pointed petals like those on a sunflower. Our guide on how to choose a paintbrush covers shapes and bristle types in detail.
- Challenge yourself with harder flowers. It is tempting to always paint the easy ones, but that does not grow you. Pick the flowers that grab your attention, even the ones with a hundred petals. You will love the outcome far more, and the stretch is where the learning lives.
How do you keep painted flowers from looking fake?
Two rules do most of the work: keep your edges soft and skip black entirely. Nature does not have outlines. I will say it again, because it is the rule beginners break most often: nature does not have outlines. Keep your edges soft and let petals melt into the air around them rather than sitting inside a hard drawn line.
Here is a challenge that builds the habit. Try to create each petal with a single brushstroke. You can lightly sketch where a petal will go, but once you lay the stroke down, resist going back in to outline it with any color. That one discipline, a petal in a stroke and no outlining afterward, is a huge part of how you paint realistic flowers.
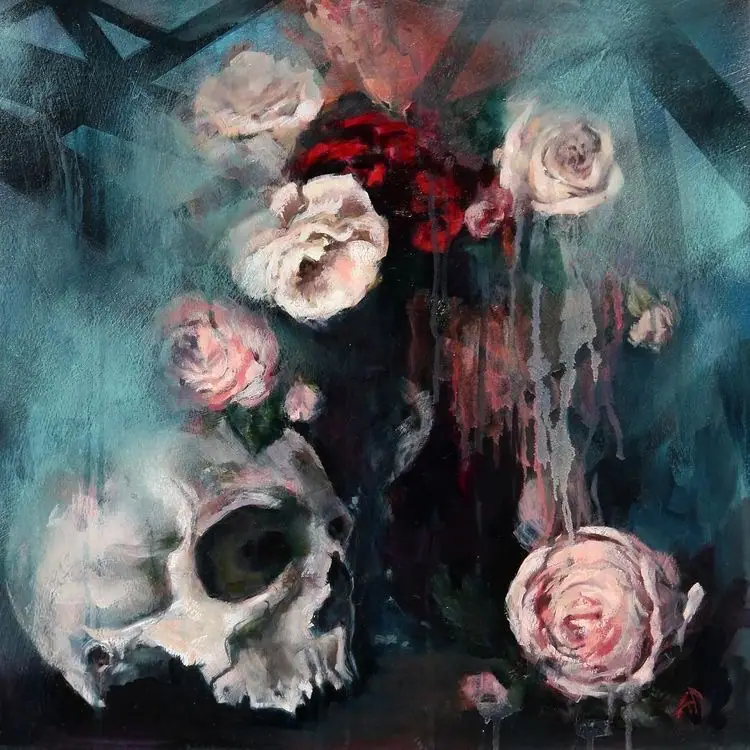
The second rule is to avoid black paint. Black rarely, if ever, appears in nature, so reaching for it flattens everything. A dark area is almost always a deep tone of a color instead. The shadows in a red rose, for example, are usually a mix of red and green, which are nature’s complements. Mix two complements together and you get a rich, natural dark, and using that approach across the painting fills it with a variety of living darks rather than one dead one. If color mixing still feels like guesswork, spend time with our color wheel painting guide.
How do you establish a focal point in a floral painting?
Every floral piece, like any still life, needs one clear focal point, and you decide it before you paint. Start by finding your composition with a viewfinder. If you do not own one, make one with your fingers by forming a square or rectangle and peeking through it. Look through that opening and try out different arrangements until you settle on a composition that feels balanced and beautiful.
Once your composition is set, choose which area to accentuate using the rule of thirds, which places your focal point off-center where the eye naturally wants to rest. From there, you paint toward that point: sharpen and brighten the focal flower, and soften and quiet everything else. One more practical note on the flowers themselves. A warm lamp shedding heat for hours will wilt your subjects right in front of you, so photograph them early in the session. If they start to wither, switch to your printed reference and finish from the photos of them at their freshest.
A quick recap before you paint
Painting flowers comes down to seeing well and working in the right order. Set up a clear, well-lit reference and study the basic shape of each flower. Choose your method, subtraction for oil or a dark-to-light block-in for acrylic, and lay in big shapes before any detail. Pick one focal point and let the rest fade back. Keep every edge soft, and mix your darks from complements instead of grabbing black. None of this requires a special gift. It requires looking closely and practicing the order until it becomes second nature.
So go take a walk, snap some shots of a neighbor’s garden, line up your favorite brushes, and get a little grubby. Be free with color, because nature is far more colorful than you may realize, and have fun with it. The fastest way to put this into practice with real structure and feedback is our free Two Week Challenge, a guided way to actually make your first paintings instead of only reading about them. And when you want to keep building your craft, the rest of the oil painting techniques collection is here whenever you are ready.
Frequently asked questions
How do you paint flowers for beginners?
Start with a well-lit reference and study the flower's basic shape before you paint anything. Block in the big shapes from dark to light, keep your edges soft, and leave the small details for last. Pick one flower as your focal point and let the others fade back. The biggest beginner gain comes from painting value and shape correctly, not from rendering every petal.
How do you paint realistic flowers?
Realistic flowers come from soft edges, accurate value, and color in the shadows instead of black. Nature has no outlines, so avoid drawing hard lines around petals and try to lay each petal in with a single brushstroke. Build your darks by mixing complementary colors, like red and green for a rose shadow, so the painting stays alive rather than flat.
How do you paint flower petals?
Paint each petal as a shape, not an outline. Choose a brush that matches the petal: a filbert with its rounded tip for soft round-edged petals, and a larger round brush for finer, pointed petals like a sunflower. Try to lay a petal in with one confident stroke and resist going back to outline it, which is what flattens petals and makes them look fake.
Should you use oil or acrylic to paint flowers?
Both work, and many artists mix them, using acrylic for a fast base and oil for depth and final detail. Oil is forgiving and suits the subtraction method, where you remove an image from a raw umber base, then glaze color over it. Acrylic dries fast and suits a block-in method, working dark to light. Choose by how you like to work, not by which is correct.
What colors do you use for shadows in flowers?
Use mixed complementary colors, not black. Black rarely appears in nature, so painting shadows with it makes flowers look dull and flat. For a red rose, the dark areas are usually red and green mixed together, which are complements. Mixing two complements gives you a natural dark and fills your painting with a variety of rich darks instead of one dead tone.
What to practice this week
- Set up real flowers in a vase under an adjustable lamp, then photograph them from several angles before they wilt so you have a clear reference to finish from.
- Paint a single petal in one brushstroke without going back to outline it, then repeat until soft, edgeless petals feel natural.
- Mix a flower shadow from two complementary colors instead of black, such as red and green for a rose, and compare it to a black shadow to see the difference.
Supplies used

About the author
More from Elli