Art Studio Lighting: The Best Lighting for an Art Studio (Setup Guide)
The right studio lighting lets you see true color and value while you work. Here is how to choose bulbs, place lights, set color temperature, and cut glare on any budget.

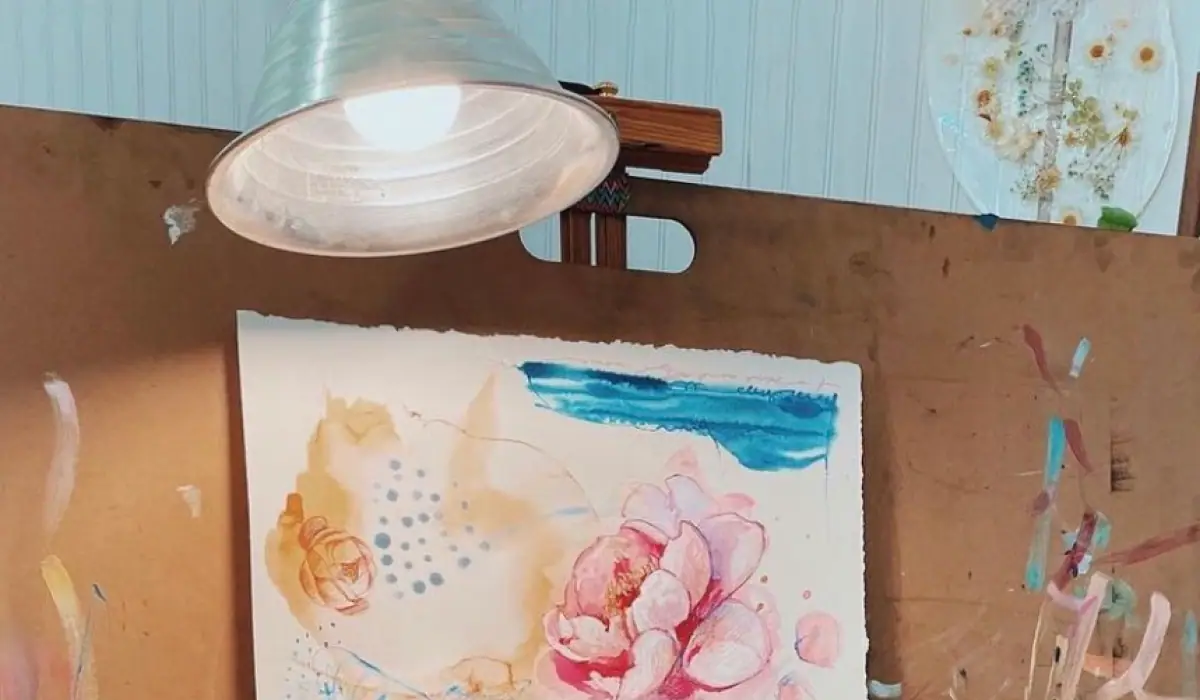
The best art studio lighting copies the light of direct sunlight at noon, because that is when you see the truest balance of warm and cool color in any painting. Since you cannot keep the afternoon sun overhead all day, the whole job of studio lighting is to recreate that quality of light indoors. Place a light on each side of your easel so the surface is lit evenly, use warm high-CRI bulbs, and keep the source above you so your hand throws no shadow. Get those three things right and you will see your true tones while you work, which is the single biggest reason lighting matters at all.
Good lighting is not a luxury for a finished studio. It is one of the most practical tools you have for learning to paint, because you cannot fix a value or a color you cannot accurately see. Whether you are a complete beginner artist or you have painted for years, the right setup removes a problem most artists never realize is sabotaging their work. Here is how to build it, from the cheapest clamp light to a fully installed studio.
What is the best lighting for an art studio?
The best lighting for an art studio recreates direct noon sunlight, because that light reveals the true warm and cool balance of every painting. The sun at midday is the reference standard, and your goal indoors is to get as close to it as you can. That means choosing bulbs for color accuracy first and brightness second, then positioning them so the light reaches your easel evenly instead of pooling in one spot.
Before you buy anything, assess your space. Look at where you stand or sit to paint, how tall your ceiling is, and where shadows currently fall across your work. The right lighting plan depends entirely on your room, so a setup that works in a low-ceiling spare bedroom will look different from one in a converted garage with high rafters. Once you know your space, the rest is a matter of bulbs and placement.
What is the best overhead lighting for an art studio?
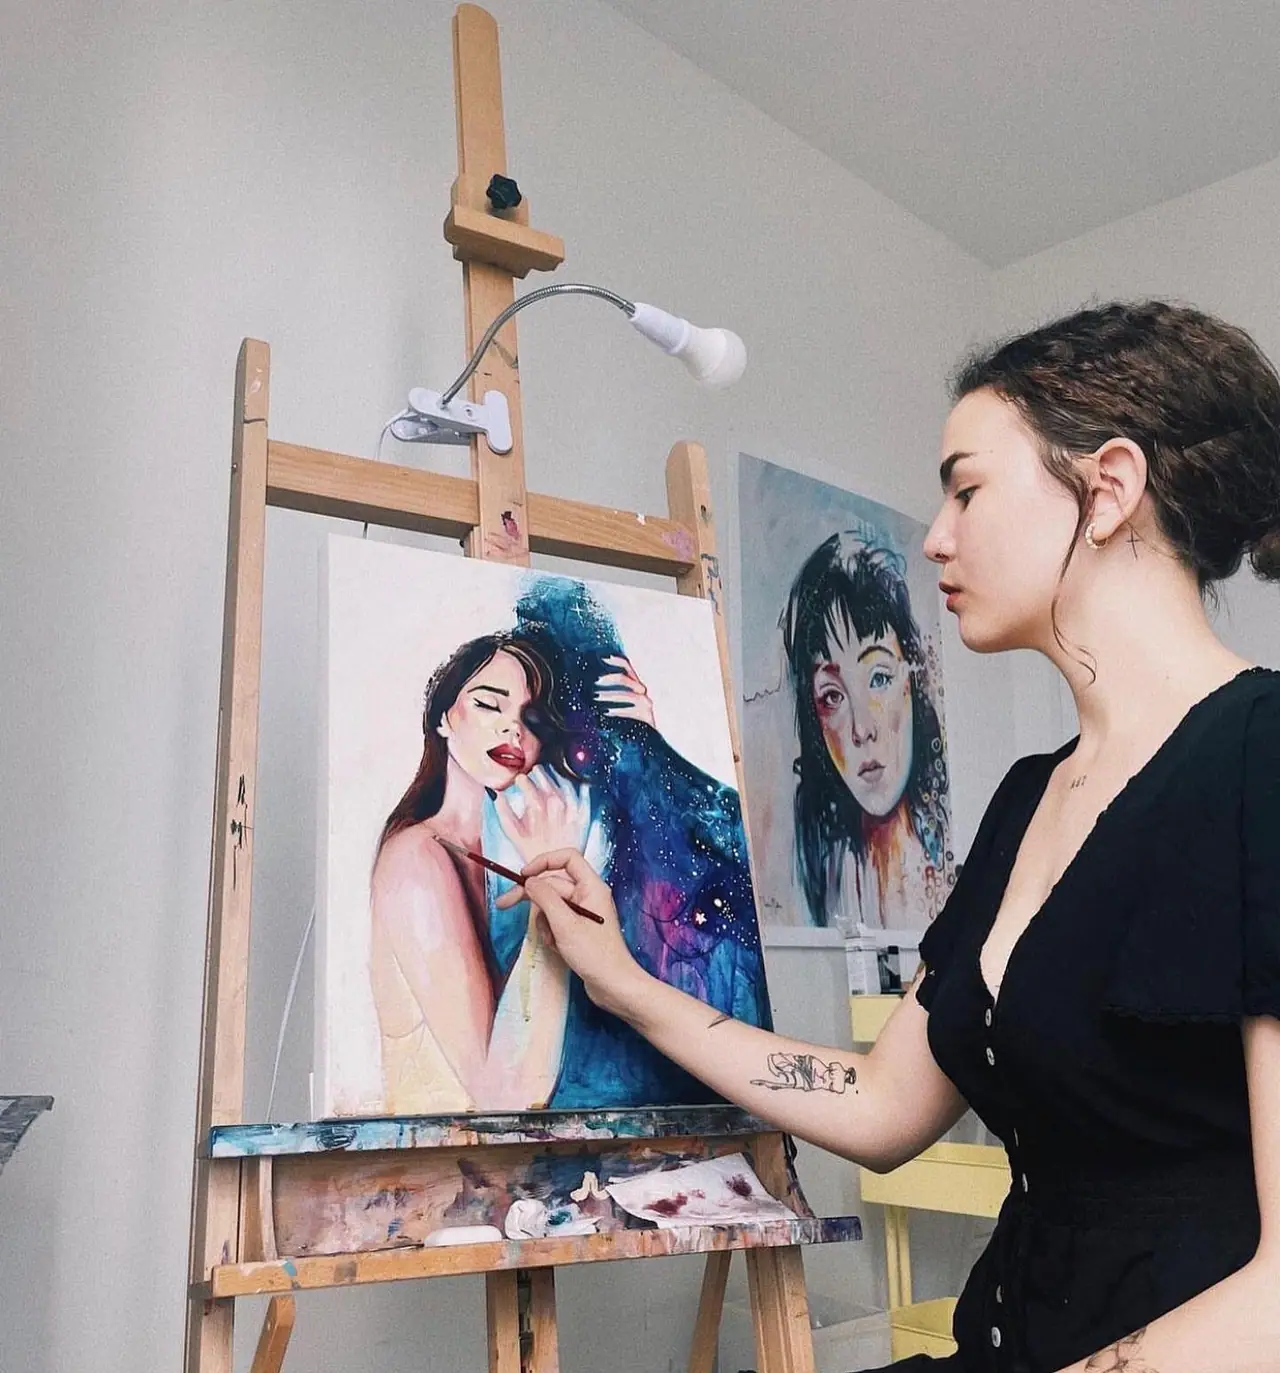
If you paint standing at an easel, the best overhead lighting sits directly above you on the ceiling so your hand never casts a shadow on the work. This is the most common mistake artists make: they light the easel from a single side or from behind, and their own hand blocks the light exactly where they are drawing or painting. Lighting from above solves that.
If your ceiling is too tall to mount fixtures usefully, you have two good options. You can set your lights on tripods and raise them to easel height, or you can hang fixtures lower so they sit closer over your work. Either way, the principle is the same: get the light source high enough and central enough that it illuminates the surface without your body getting in the way.
How do you reduce glare and shadows in your art studio?
Reduce glare and shadows by lighting your easel evenly from both sides, so no single angle dominates and your hand stops blocking the light. The rule of thumb is a minimum of one light on each side of the easel, which balances the tones across the whole surface. If your bulbs are too small to cover the entire easel evenly, that is your signal to add more lights until every part of the surface reads at the same brightness.
How you spend your budget changes the quality of that even light, but every tier can get the job done. Here are three setups, from the simplest to the most refined.
- Good: a construction clamp light. A budget clamp light fitted with a daylight-balanced bulb is simple and effective. It is the cheapest way to get a real, directional light onto your easel, and plenty of working artists started with exactly this.
- Better: a diffused directional light. An LED panel with a softbox, or an adjustable lamp, softens harsh shadows and gives you more control over where the light lands. An added bonus is that these same panels are excellent for photographing your finished art when it is time to make prints or list your work.
- Best: professionally installed ceiling track lighting. Track lighting with adjustable, high-CRI bulbs lets you aim each head independently to illuminate the space evenly and accurately. It is the most expensive route, but it gives you the truest, most consistent color across the whole studio.
No matter your budget, the right lighting elevates your creative process and helps you produce your best work. Coverage and evenness matter more than how much you spend, so start where you are and improve the setup as you go.
What color temperature is best for a painting studio?
Warm light brings out the true colors of a painting, so warm bulbs beat neutral or cool ones for a studio. Colors simply look more beautiful and read more accurately under warm light than under cool light, which tends to flatten and gray them out. This is the part most artists get backwards, because the advice at the hardware store points the other way.
When you go to a home improvement store, you will be steered toward daylight bulbs or sunlight bulbs. Skip those. Instead, buy bulbs lower on the Kelvin scale, in the 2000 to 4000 Kelvin range. Go higher than that and you cross into neutral and then cool light, which distorts how you judge color. There is a practical reason to stay warm beyond aesthetics: most collectors’ homes use warm lighting, and that is the environment where buyers will actually display your work. Sometimes a kitchen or a commercial space runs cool fluorescent light, but since the home is where most paintings hang, the warm home environment is the one you want to recreate in your studio.
One more reason this matters for learners: when you are training your eye to draw or paint, the wrong lighting quietly hinders you. Set the color temperature correctly and you remove that obstacle, so you can finally see the natural, true tones of your artwork as you create. Color and value are the foundations of the elements of art you are working to master, and you cannot judge either one under light that lies to you.
Lighting tips for oil painting and reflective surfaces
Oil paint, varnish, and glossy mediums reflect light, so glare is more of a concern with oils than with matte acrylic work. The fix is the same diffused, directional light that softens shadows: an LED panel with a softbox spreads the light enough that you avoid a hard hotspot bouncing off a wet, glossy passage. If a shine is still washing out part of the painting, adjust the angle of the light or the angle of your easel until the glare moves off the area you are working on.
Beyond that, oils ask for the same fundamentals as any other medium. Light the surface evenly from both sides, keep the color temperature warm, and make sure the light is bright enough to read subtle value shifts in dark passages, where oils tend to hide detail. If you are still deciding which medium suits your studio at all, the differences between acrylics and oil paint cover how each one behaves under light and in practice.
Set up your studio and get to work
Great lighting is not just about seeing your work. It is about giving your color, your value, and your confidence the conditions they need to come to life. The right setup makes accurate color obvious, which makes learning faster and painting more enjoyable. So do not settle for one dim overhead bulb and a wall of shadow. Put a warm, even light on each side of your easel and watch how much more you can suddenly see.
Once your space is ready, the fastest way to start making real paintings in it is our free Two Week Challenge, a guided way to put your new studio to use instead of just reading about it. And when you want to go deeper on the craft itself, the rest of the oil painting techniques collection is here whenever you are ready to keep building.
Frequently asked questions
What is the best lighting for an art studio?
The best art studio lighting imitates direct noon sunlight, which shows the truest balance of warm and cool color in a painting. Practically, that means warm, high-CRI bulbs in the 2000 to 4000 Kelvin range, placed so they light your easel evenly from both sides. Aim for accurate color over raw brightness, because seeing true value is what improves your painting.
What is the best overhead lighting for an art studio?
If you paint standing at an easel, the best overhead lighting sits on the ceiling directly above you so your hand casts no shadow on the work. Professionally installed ceiling track lighting with adjustable, high-CRI bulbs is the strongest option because you can aim each head to light the easel evenly. If your ceiling is very high, tripods or hanging fixtures bring the light closer.
What color temperature is best for a painting studio?
Choose warm light in the 2000 to 4000 Kelvin range rather than the daylight or sunlight bulbs hardware stores usually push. Warm light brings out the true colors of a painting, and it matches the warm lighting in most collectors' homes where your work will eventually hang. Match your studio to the environment your buyers will display the art in.
How do I reduce glare and shadows while painting?
Place at least one light on each side of your easel so the surface is lit evenly and your hand stops throwing a shadow across the work. Use diffused, directional light, such as an LED panel with a softbox, to soften harsh edges. If one bulb is too small to cover the whole easel, add more lights until the entire surface reads at the same brightness.
How many lights do I need to light my easel?
Start with a minimum of one light on each side of the easel so the tones stay balanced and even. The real test is coverage, not count: if a single bulb cannot illuminate the entire surface evenly, add more until it does. An evenly lit easel is the goal, because uneven light makes you misjudge value and color as you paint.
What to practice this week
- Set a light on each side of your easel, then step back and check that the whole surface is lit evenly with no shadow from your hand.
- Swap any cool daylight bulbs for warm high-CRI bulbs in the 2000 to 4000 Kelvin range, then compare how your color reads before and after.
- Carry a finished painting outside into direct noon sun to see its true warm and cool balance, then tune your studio lights to match that look.
Supplies used

About the author
More from Elli