How to Photograph Artwork for Prints (No Studio Required)
We tried scans, rented studio equipment, and plain direct sunlight, then let our print manufacturer judge: sunlight won.

You do not need a photography studio to photograph your artwork for prints. You need a sunny day, a camera with at least 12 megapixels, and a careful hour of shooting and editing. That is the whole secret, and it costs almost nothing.
We learned this the expensive way. After years of working with professional print manufacturers, and eventually running our own Epson SureColor P8000 for fine art prints, we tested every method we could get our hands on: scanning, rented studio equipment, and plain direct sunlight. We sent the results to our print manufacturer and asked which file would make the best print. The answer surprised us. The highest quality image was the photo taken outside in direct sunlight.
That result should encourage you, because prints are one of the most attainable income streams an artist has. A painting sells once. A good photograph of that painting can sell for years, at a price point far more collectors can reach. The only thing standing between most artists and that stream is the belief that professional photography is too expensive or too confusing. It is neither.
Should you photograph or scan your artwork?
Photograph it, in almost every case. Scanning sounds like the precise option, but for most artists it creates more problems than it solves.
The first problem is size. Most paintings are simply too large for a scanner bed. You can scan a big piece in sections and stitch the files together digitally, but stitching is slow, fiddly work, and a scanner large enough to take your canvas in one pass is expensive and hard to find.
The second problem is color. Unless you have access to a very high quality scanner, the file will not represent your colors accurately. A camera in full-spectrum light is both cheaper and more faithful to the painting. For nearly every artist, photography wins on cost, on convenience, and on color.
What is the best light for photographing art?
Direct sunlight is the best light for photographing artwork, and it is free. Here is why it beats almost any bulb you can buy.
Color forms on a surface through wavelengths of light. Some wavelengths are absorbed by the paint, and the rest reflect back to your eye. That reflection is the color you see. If your light source is missing part of the visible spectrum, those missing wavelengths never reach the painting, so they can never bounce back into your camera. The photo cannot record color that the light did not carry. Daylight contains every visible wavelength, which is why it gives you the truest record of your work.
Most artificial lights are missing pieces of that spectrum. Ordinary household bulbs are the worst offenders: they expose your painting poorly, shift the colors, and make strong work look amateur. We photographed our art in direct sunlight for years, and after testing studio equipment side by side, we still have not found anything better.
What camera and settings do you need for print-quality photos?
You need a camera with at least 12 megapixels, set to a low ISO, with an aperture between f8 and f11. That is the core recipe.
Start with the camera itself. Your phone takes photos that look great on social media, but a print file asks far more of an image than a screen does. For prints, use a dedicated camera that can shoot RAW. We use a Nikon D750, and any DSLR with 12 megapixels or more will do the job. Below that resolution, the image distorts as soon as you adjust the print size.
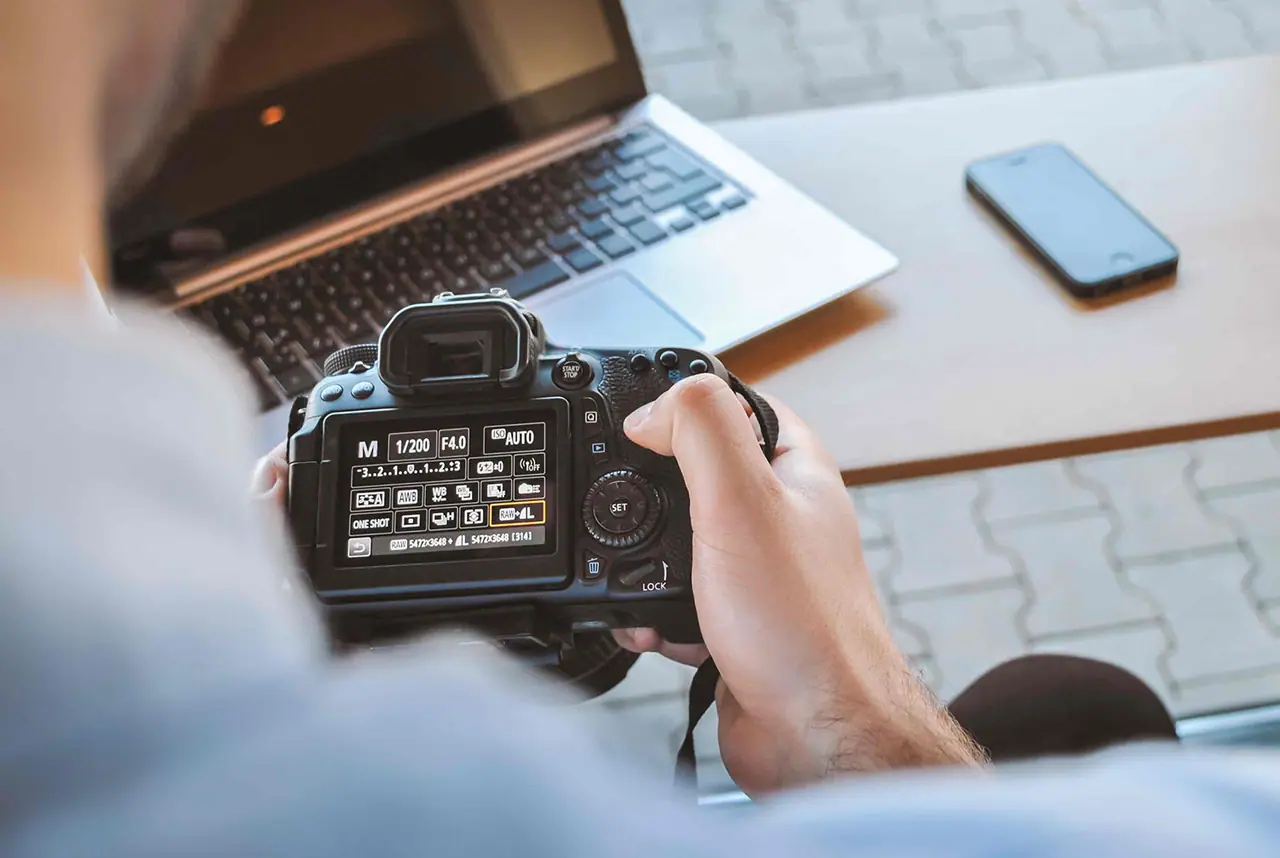
Then dial in three settings:
- ISO: this controls how sensitive the sensor is to light. Keep it low. A low ISO gives you a clean, detailed image with the highlights of your painting intact.
- Aperture: every lens passes a specific amount of light, and the f-stop controls how much. Higher f-stop numbers let in less light. For flat artwork, the sweet spot sits between f8 and f11, where the lens renders the painting sharp from edge to edge.
- Flash: off, always. The built-in flash throws glare straight back at the lens.
Two more habits separate professional files from guesswork. First, keep the camera perfectly parallel to the painting. Tilt it even a little and your rectangle warps into a trapezoid that no crop can rescue. The same rule applies when you photograph drawings. Second, use a grey card. This inexpensive tool gives you a neutral reference inside the frame: include it in at least one shot, and when you edit, one click of the eyedropper on the card removes any color cast and sets a true white balance.
How do you photograph your artwork step by step?
Work in batches on a sunny day, square the camera to the painting, and shoot more frames than you think you need. Here is the full sequence:
- Plan a batch session. The sun moves quickly, and if you live somewhere rainy, clear days are precious. Have several finished pieces ready to go.
- Set the painting in direct sunlight, facing the camera squarely, with nothing casting shadows across the surface.
- Turn off the flash.
- Set a low ISO and an aperture between f8 and f11.
- Check that the camera is parallel to the painting.
- Frame about an inch beyond the canvas on every side. That margin gives you room to crop cleanly if something goes wrong at the edges.
- Include your grey card in at least one frame.
- Shoot plenty of extra frames, and refocus the lens between shots so you always have a sharp backup.
None of this takes special talent. It takes a checklist and a clear afternoon.
How do you edit and export your photos for prints?
Edit just enough to make the file match the real painting, then export a TIFF, PNG, or large JPEG around 20 megabytes. The goal of editing is fidelity: the finished file should look exactly the way the colors looked when you painted them, and no more.
Adobe Lightroom and Photoshop are the standard tools, and the adjustments you need are easy to learn with a little time. If you are not ready to pay for software, free programs cover the same core job, and you will find options in our free artist resources.
Work through each file in order:
- Set the white balance first. Click the eyedropper on your grey card to remove any color cast in one step.
- Crop precisely, then scan the edges for dust, tape, stray shadows, and paint boogers.
- Adjust contrast, vibrancy, and brightness with the original painting beside you, matching the file to the real thing rather than improving on it.
- Export as TIFF, PNG, or a large JPEG, aiming for a file around 20 megabytes. Shoot in RAW for editing flexibility, but never send RAW files to a print lab, because RAW is not a print-ready format.
- Order a test print before you sell anything. Your monitor will not show you perfectly accurate color, and a single sample print removes the guesswork before a customer ever sees your work.
Once you have files you trust, everything downstream gets easier. You can release prints, build a portfolio that represents your work honestly, and post pieces online that look the way they look in your studio. Strong, accurate photos are also one of the simplest ways to rise above the noise as an artist online. When you are ready for the selling side, start with our guide on how to promote your art, and you will find more on the business of being an artist in our sell and price your art guides.
Your paintings deserve to be seen the way you painted them. A sunny afternoon and a borrowed camera are enough to begin. Take one painting outside this week and see the difference for yourself.
Frequently asked questions
Can I photograph my artwork with a phone?
A phone is fine for social media and for your own records. For prints, use a dedicated camera with at least 12 megapixels that can shoot RAW. Print files need far more resolution than a screen does, and below that threshold the image distorts when you adjust the print size.
Do I need professional lighting to photograph my art?
No. Direct sunlight contains the full spectrum of visible color, which is exactly what accurate color reproduction requires. When we compared scans, rented studio equipment, and sunlight, our print manufacturer told us the sunlight photo was the highest quality file.
What camera settings work best for photographing paintings?
Use a low ISO for a clean image, an aperture between f8 and f11 for edge to edge sharpness, and turn the flash off. Keep the camera perfectly parallel to the painting, and include a grey card in one frame so you can correct white balance while editing.
What file format should I use for art prints?
Shoot in RAW for editing flexibility, then export as TIFF, PNG, or a large JPEG, aiming for a file around 20 megabytes. Do not send RAW files to a print lab, because RAW is not a print-ready format.
What to practice this week
- Photograph one finished painting outside in direct sunlight: flash off, low ISO, f8 to f11, camera parallel, and an inch of margin around the canvas.
- Shoot the same painting indoors under household bulbs, then compare both files on screen and note exactly how the color shifts.
- Order one small test print of your best file before you ever offer prints for sale.

About the author
More from Jake