Texture Painting Techniques: 10 Ways to Add Depth and Drama to Your Art
Texture is what makes a flat canvas pull you closer. Here are 10 ways to build it, from translucent washes to thick knife work, each with a short step-by-step you can try today.


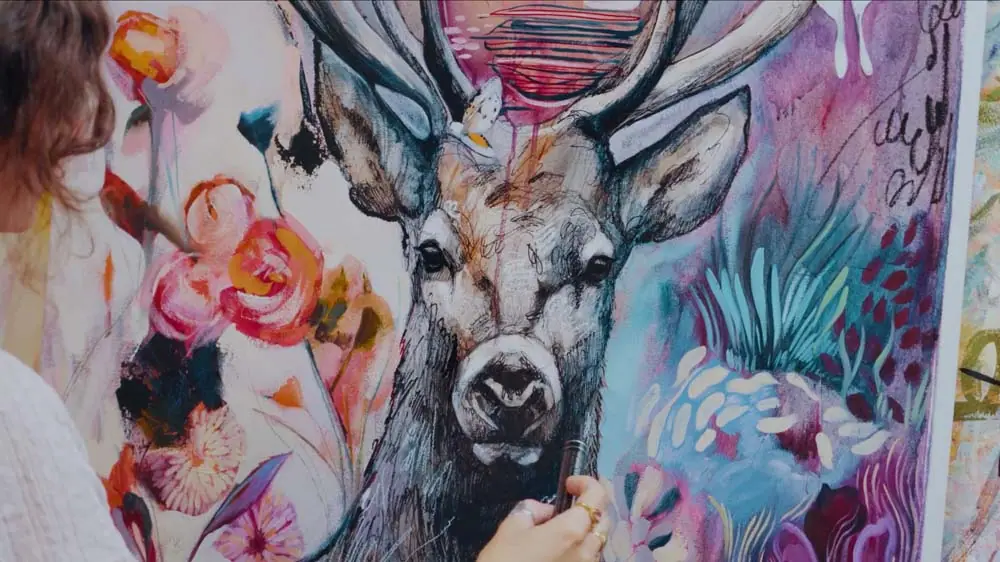
Texture is what turns a flat canvas into something you want to lean toward. It adds depth, movement, and that quiet come closer pull that makes a painting feel alive instead of printed. The good news is that texture is a skill, not a gift, and there are many ways to build it: translucent washes, thin glazes, mark-making, stencils, drips, spray and splash, thick palette knife ridges, gesture marks, and collage. Below are ten techniques, each with a short step-by-step, so you can stop reading about texture and start putting it on a surface today.
You do not need to master all ten. Pick one or two that sound interesting, try them on a small study, and then start combining them. Layering techniques is where the real magic happens, because that is how depth gets built. Texture is one of the elements of art every painter works in, alongside line, value, and color, and learning to control it is one of the fastest ways to make your work feel finished.
What is texture in painting?
Texture in painting is the surface quality of a work, the part that makes it feel three dimensional rather than smooth and flat. It comes in two kinds. Real texture is physical: you could run a finger over the ridges a palette knife leaves or the grit of molding paste. Visual texture is an illusion, marks and contrast that suggest a surface on an otherwise smooth canvas. Most strong paintings use both, giving the light something to catch and the eye something to read. Every technique below builds one kind, the other, or a mix of the two.
1. How do you create an acrylic paint wash?
An acrylic paint wash is made by diluting acrylic with water to create thin, translucent layers that build depth and a luminous glow.
Benefit: adds depth and movement, with a luminous, light-filled effect.
- Choose your acrylic colors and pour a small amount onto your palette or into a cup.
- Mix each color with water until it reaches a thin wash consistency.
- Apply the wash to your canvas in broad, even strokes.
- Let each layer dry before adding the next to build up translucency, or blend wet layers for softer transitions.
Use a light hand and build the layers up gradually, and experiment with different levels of dilution to find the effect you like best. The wash technique grows out of old watercolor practice and became hugely popular once fast-drying acrylics made this kind of layering easy. For more on controlling water in acrylics, see our 25 acrylic painting tips from working artists.
2. How do you glaze with oil paint?
Glazing is applying thin, transparent layers of oil paint over a fully dry layer underneath, which deepens color and creates a glowing finish.
Benefit: enriches color and builds a luminous, glowing depth.
- Make sure the layer underneath is completely dry.
- Mix your oil color with a glazing medium, using transparent colors so the underpainting still shows through.
- Apply the glaze with a soft brush in smooth, even strokes.
- Let each glaze layer dry before adding the next.
Use a soft, high quality brush and mix the glaze thoroughly to avoid streaks. Glazing has been a staple since the Renaissance, used by masters like Jan van Eyck and Leonardo da Vinci to build luminous color and subtle transitions. If glazing pulls you toward oils, our guide to acrylic vs oil paint explains why oil is the friendlier medium for slow, layered work.
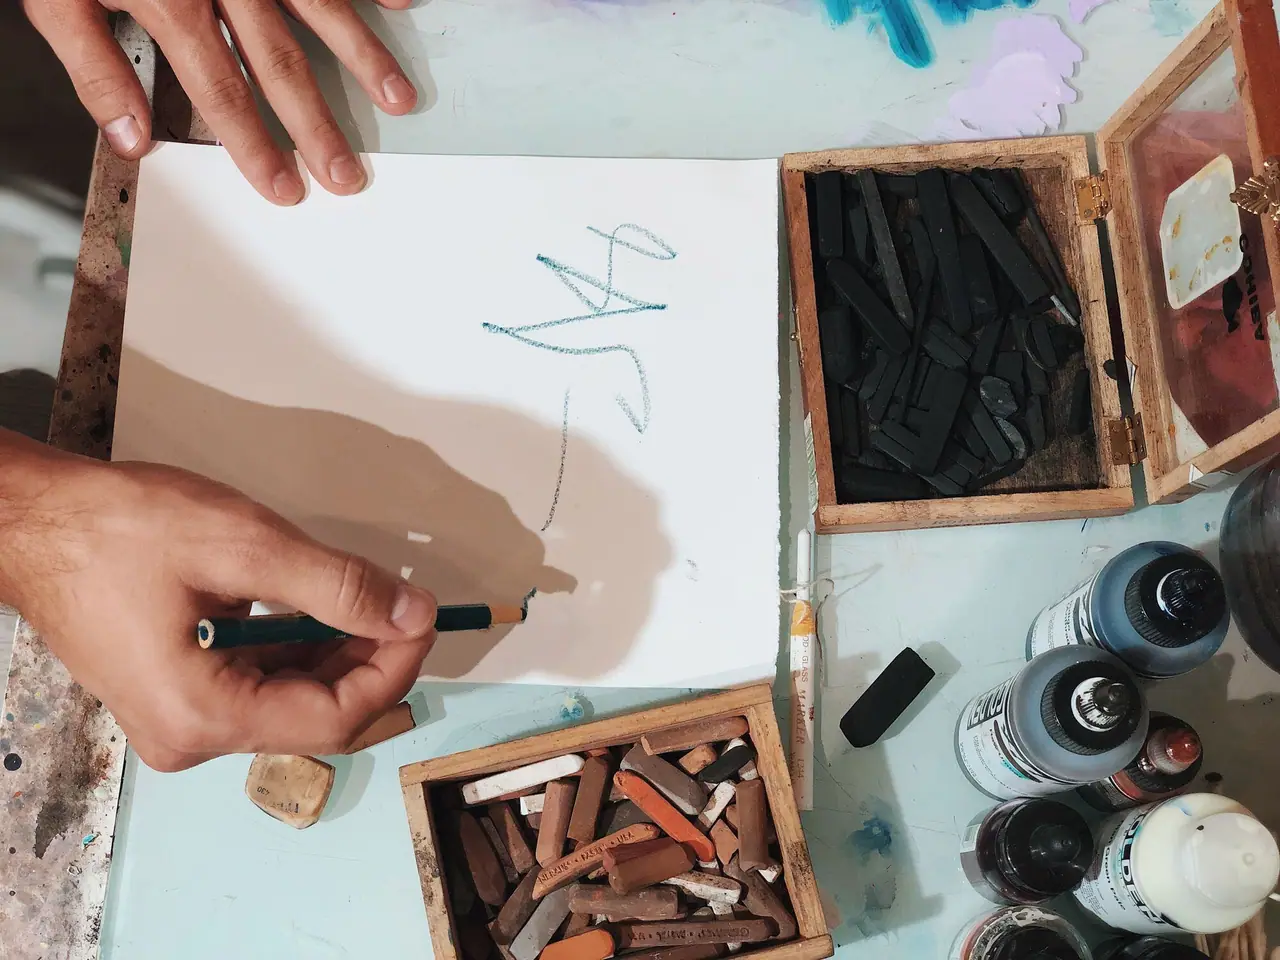
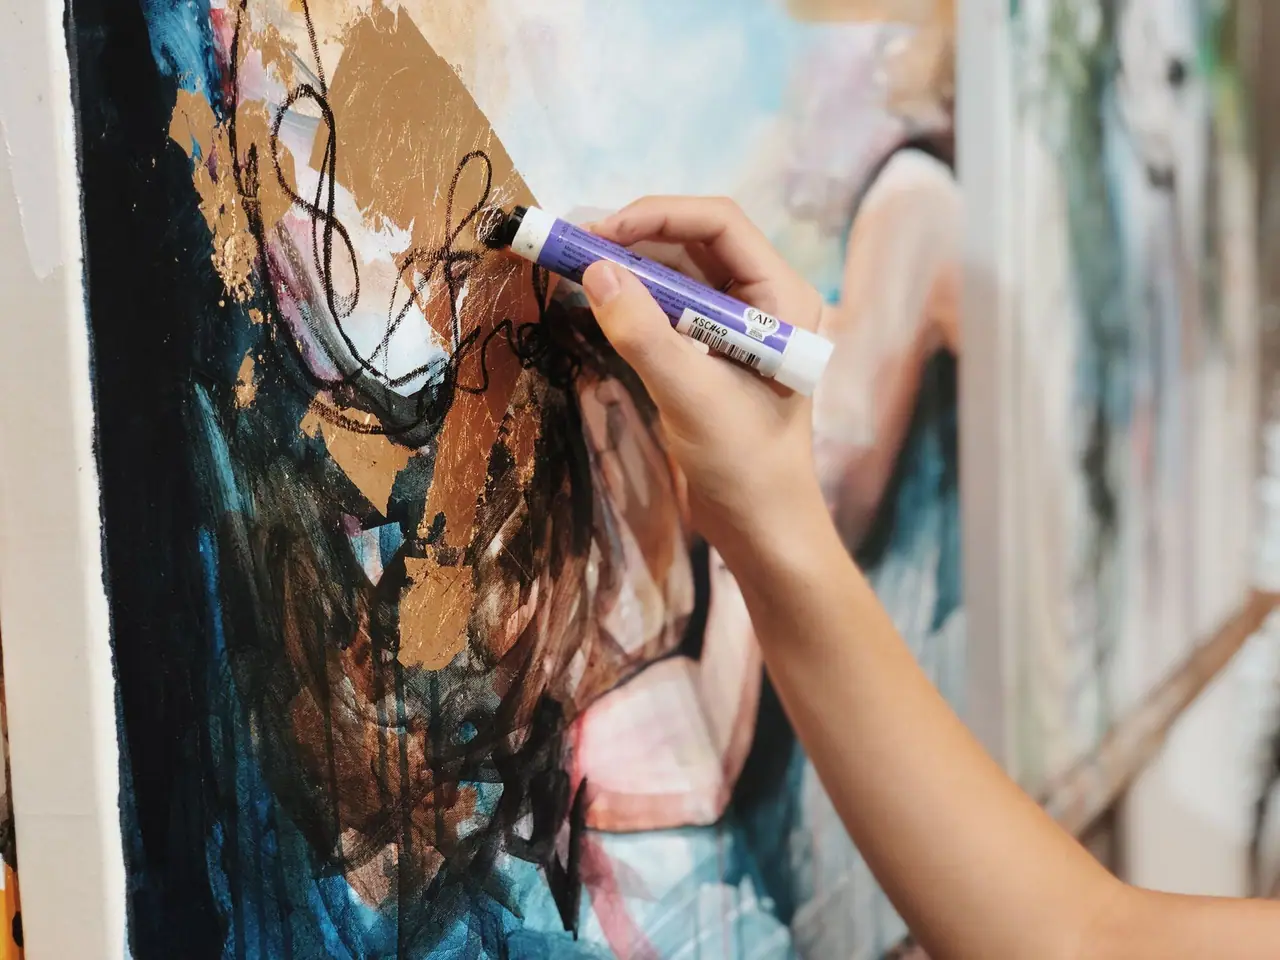
3. What is mark-making in art?
Mark-making is using lines and marks of all kinds to add texture and carry emotion, rhythm, and energy into a painting.
Benefit: conveys emotion, rhythm, and energy in a direct, personal way.
Tools and materials: brushes, acrylic markers, palette knives, oil sticks, your own fingers, and anything else that leaves a mark.
- Experiment with different tools to create different marks, like a metal or plastic palette knife for acrylic.
- Use quick, spontaneous movements to put energy into your marks.
- Layer marks to build up texture and complexity.
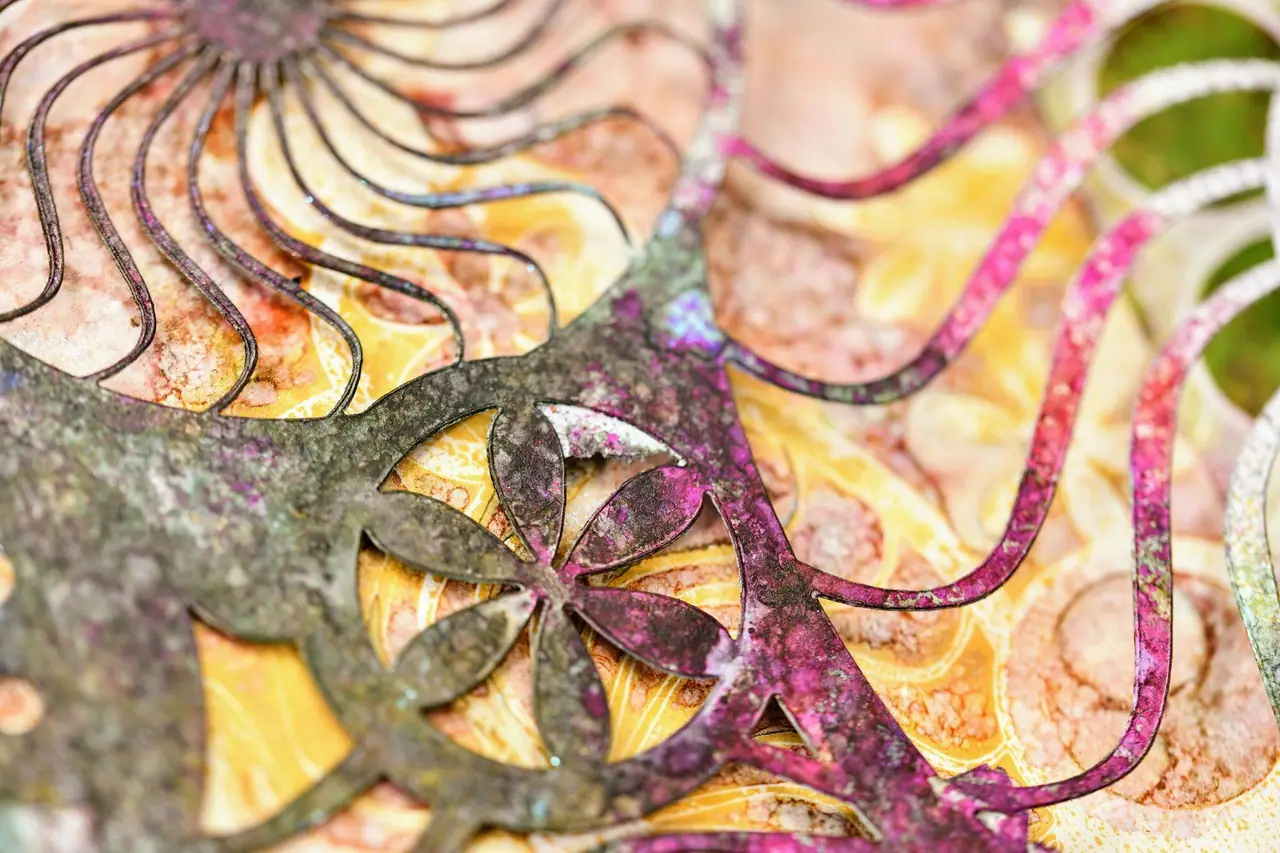
To find unexpected textures, try a palette knife, the edge of a credit card, or your fingers. Mark-making is one of the most fundamental things in art, because it captures the artist’s gesture and personal touch and bridges the gap between drawing and painting.
4. What is fake writing in painting?
Fake writing is creating the look of text without forming real words, which adds mystery and a layer of visual complexity.
Benefit: adds mystery, intrigue, and complexity.
- Mimic handwriting, calligraphy, or graffiti without spelling anything out.
- Use a variety of tools such as pens, brushes, or markers.
- Layer your fake writing over other textures for added depth.
Vary your pressure and speed to keep the marks looking natural, and combine them with other textural elements for a cohesive composition. Fake writing has roots in ancient scripts and symbols valued for their look rather than their meaning, and it found new life in modern art as a way to use text as a purely visual element.
5. How do you use stencils and masking for texture?
Stencils and masking create defined shapes and patterns within your layers, adding precision and structure to an otherwise loose surface.
Benefit: adds precision, pattern, and structure.
- Choose your stencil or masking shapes.
- Secure the stencil, tape, or masking medium onto your canvas.
- Apply paint or molding paste over the surface with a sponge or brush.
- Carefully remove the stencil, tape, or masking to reveal the pattern.
Use a light touch so paint does not bleed under the stencil, and combine different shapes for more intricate designs. Stenciling has been used for centuries, from ancient cave paintings to modern street art, because it lets you repeat patterns and place shapes with control.
6. How do you drip paint on a canvas?
Drip painting is letting paint drip or pour onto the canvas to create spontaneous, unpredictable patterns and color variation.
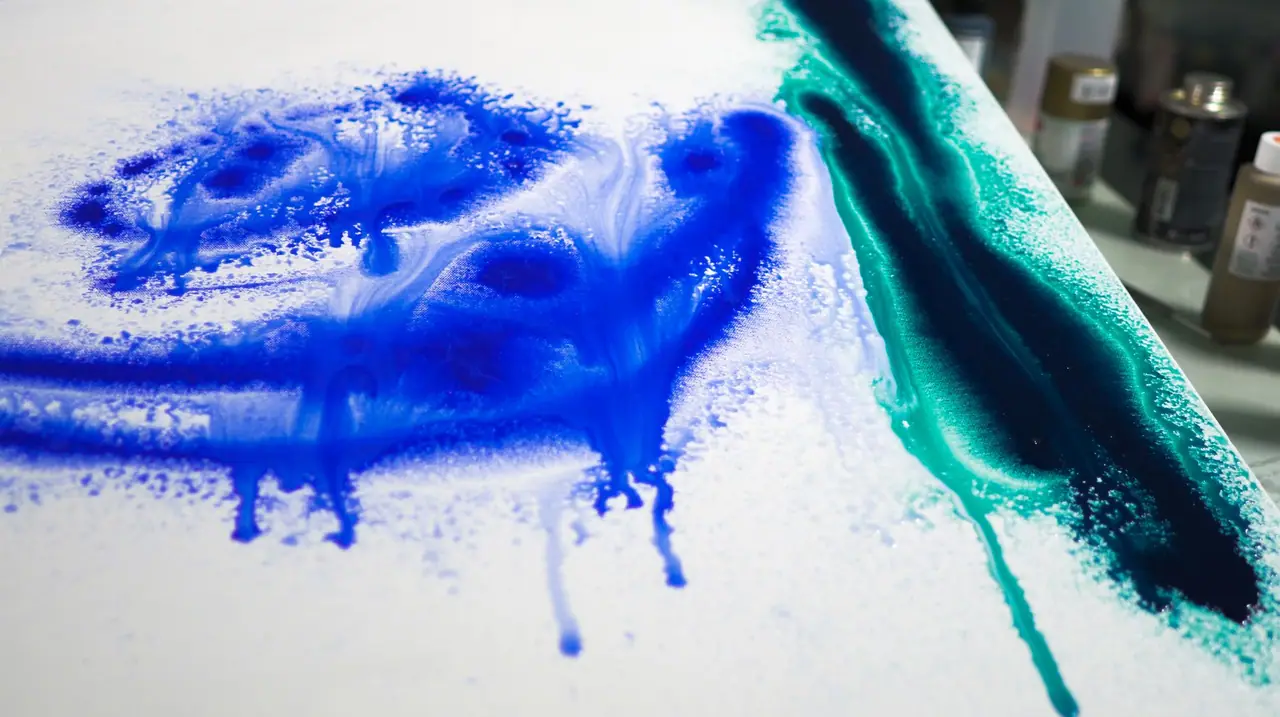
Benefit: creates spontaneous, unpredictable patterns and movement.
- Thin your paint to a pourable consistency, or reach for a high flow acrylic.
- Apply the paint with squeeze bottles or loaded brushes.
- Tilt the canvas to direct the drips, or work flat and use a water spray mister to redirect the flow.
Experiment with different paint consistencies and ways of applying it to get the effect you want. Drip painting became iconic through Jackson Pollock and Abstract Expressionism, where the physical act of painting itself produced dynamic, fluid compositions.
7. How do you use spray paint and splash paint?
Spray and splash painting means applying paint with spray cans or by flicking it from a brush, which introduces chance and spontaneity into the surface.
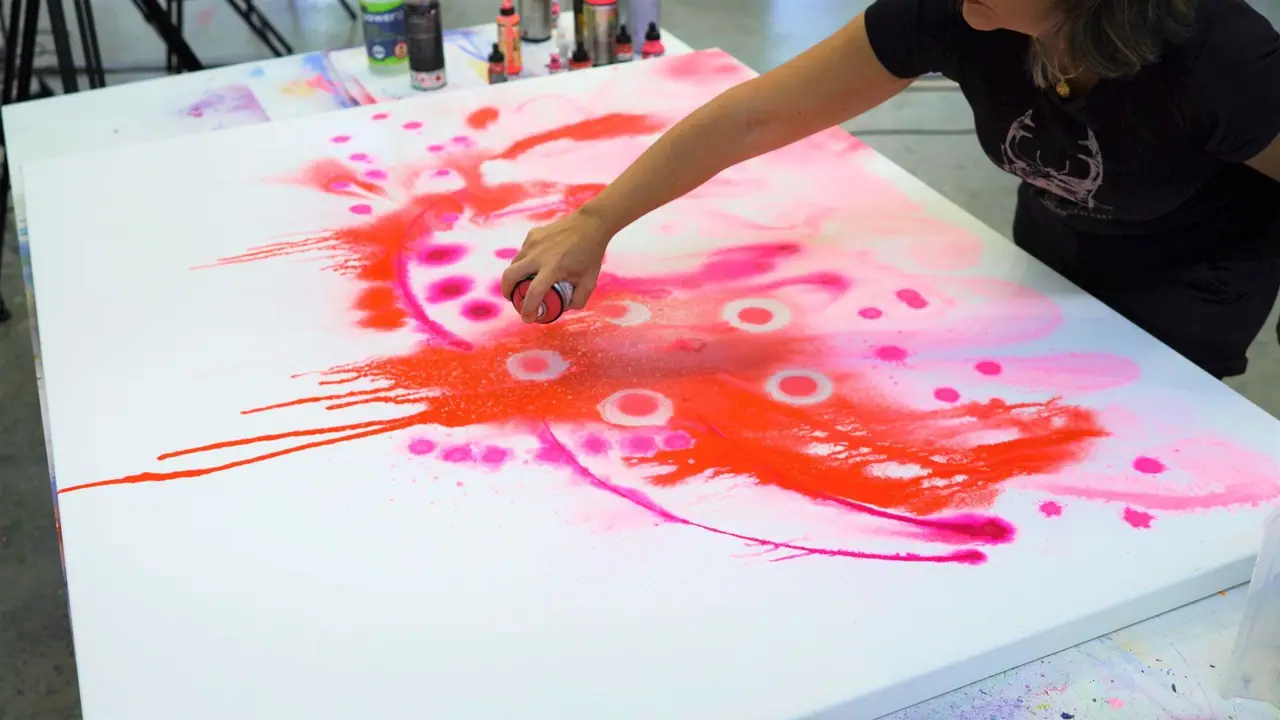
Benefit: introduces chance, energy, and an unexpected, intuitive feel.
- Choose your spray paint colors.
- Use short bursts for a fine mist or long sprays for bold marks, and hold in one place to get drips.
- For splashing, load a brush with paint and flick it onto the canvas.
Always work in a well ventilated area and wear a mask to avoid inhaling fumes, or choose water-based spray paint. Spray and splash techniques are central to street art and contemporary abstract work, where they let you work fast and intuitively for energetic, surprising results.
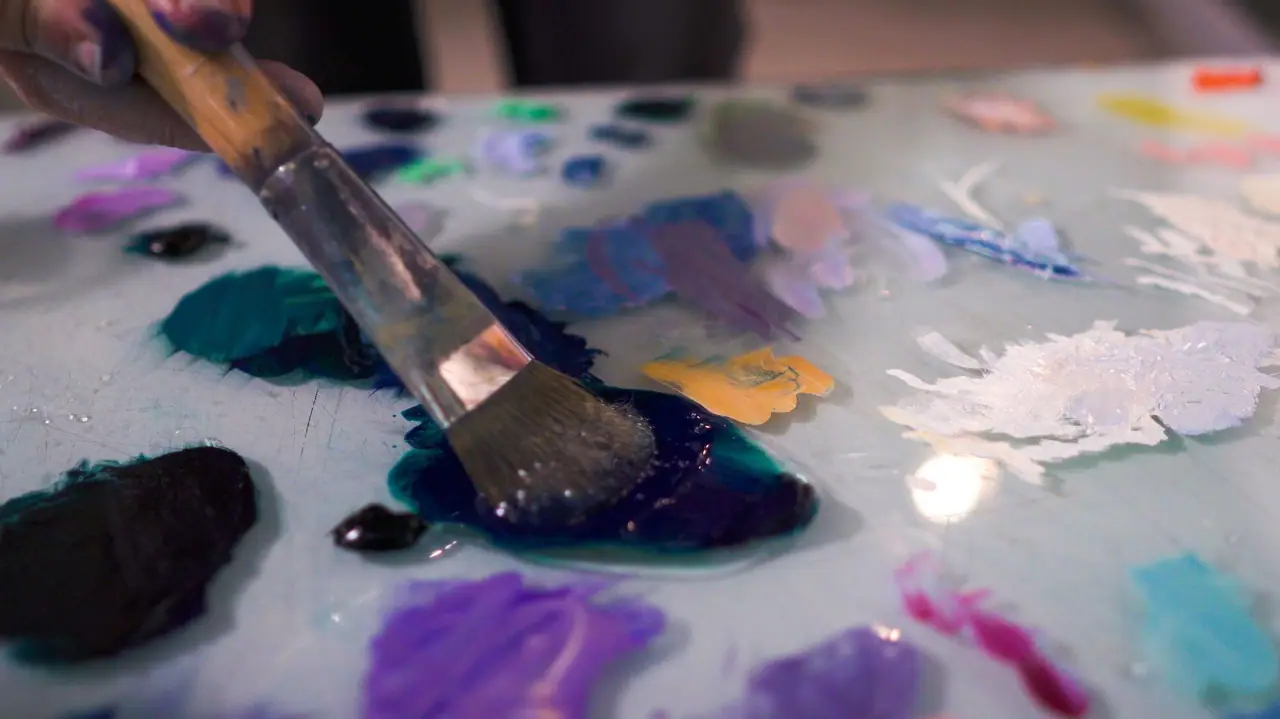
8. How do you create texture with a palette knife?
Palette knife work means laying paint on thick with a knife to build ridges, grooves, and real physical depth, the same way the Impressionists did.
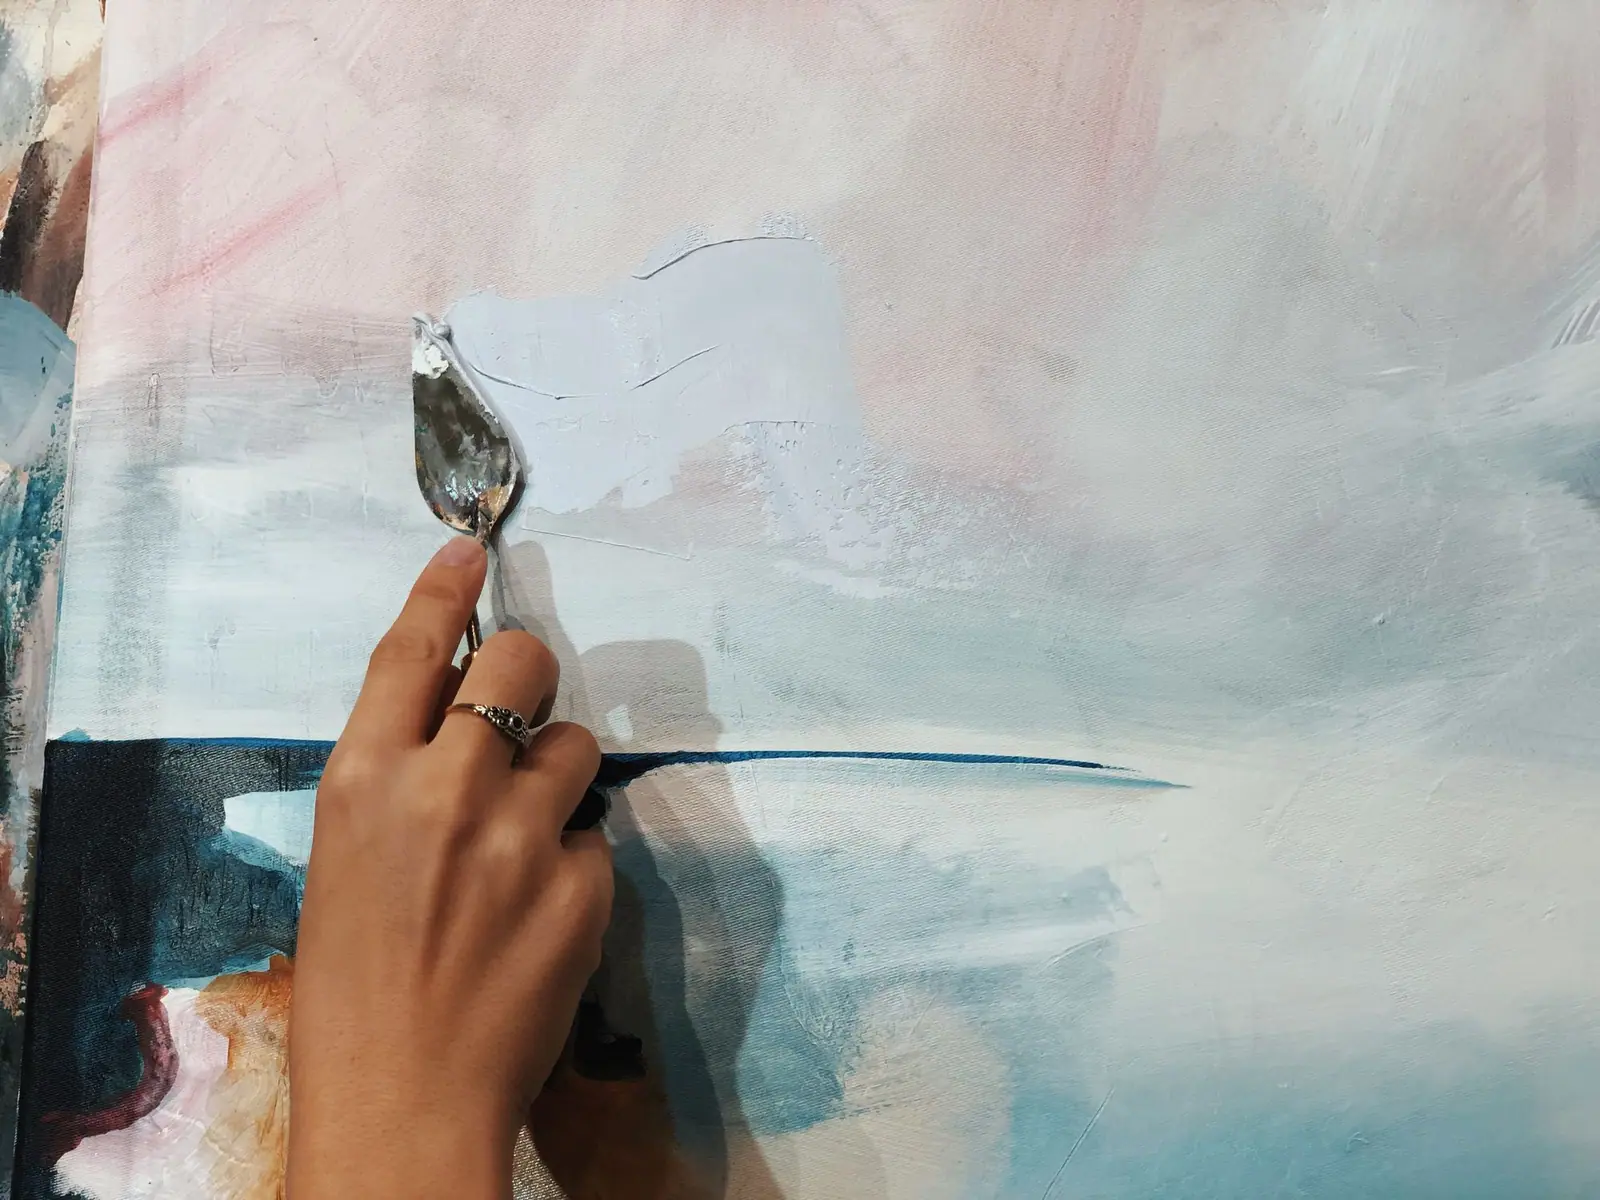
Benefit: adds ridges, grooves, and bold physical texture.
- Load your palette knife with paint.
- Apply the paint to the canvas in thick, sweeping motions.
- Experiment with different angles and pressures to vary the texture.
Use the edge of the knife for fine lines and the flat side for broader strokes. The palette knife became prominent in the 19th century with artists like Vincent van Gogh and Henri Matisse, who used it for bold, expressive paint and a real sense of immediacy. For a deeper walkthrough, see our 10 palette knife painting techniques, and for the movement that made thick paint famous, our guide to impressionist paintings.
9. What are gesture marks in painting?
Gesture marks are expressive strokes made with quick, spontaneous movements that capture both physical action and emotional state.
Benefit: captures movement, energy, and feeling in a single stroke.
- Choose your tool: brushes, fingers, or anything that makes a varied mark.
- Make quick, confident strokes that capture the movement.
- Layer marks to build up energy and emotion.
Work quickly and do not overthink it, focusing on the movement and feeling rather than precision. Gesture marks are essential for capturing the life and immediacy of a subject, which is why they show up so often in figure drawing and action painting.
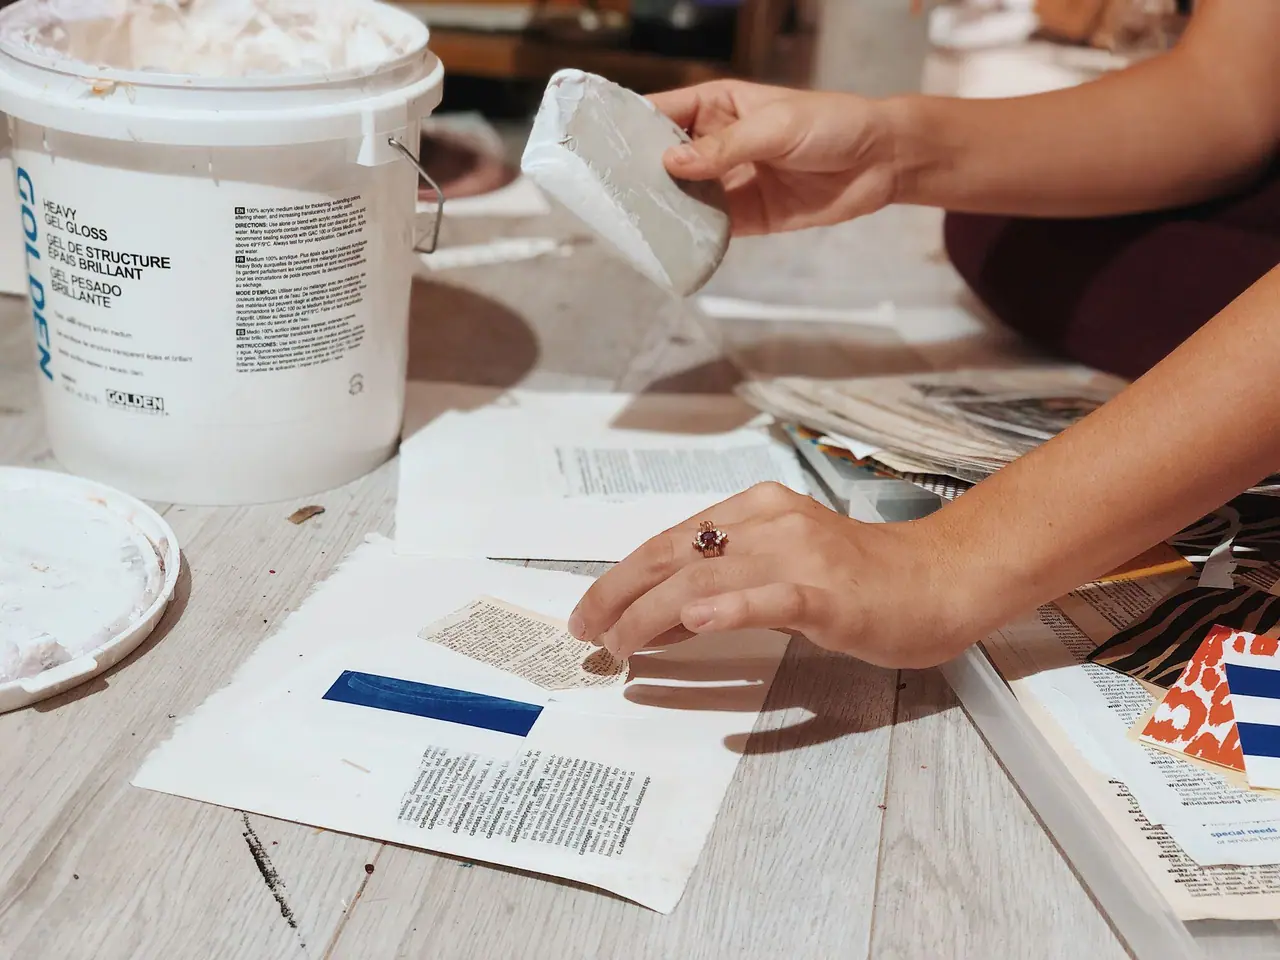
10. How do you add collage to a painting?
Collage is incorporating materials like fabric, paper, poems, and sheet music into a painting to add texture and depth.
Benefit: adds physical texture, depth, and rich visual interest.
- Gather collage materials such as fabric, paper, or found objects.
- Arrange them on the canvas to create the composition you want.
- Adhere the materials with glue, gel medium, or molding paste.
- Integrate the collage with paint and other textures.
Blend the edges of the materials with paint so the collage and the painted surface flow together. Collage emerged as a groundbreaking technique in the early 20th century with Pablo Picasso and Georges Braque, who challenged the idea of what a painting could be by working everyday materials into it. To go further with layering and found materials, see our mixed media art techniques guide.
How do you combine texture techniques in one painting?
You combine texture techniques by layering them in stages, letting each one dry or settle before adding the next. Start with a base like a wash or a glaze to set the mood, build mid layers with mark-making, drips, or stencils, then finish with the boldest physical texture, palette knife work or collage, on top. The order matters less than the contrast: a thin, quiet passage next to a thick, loud one is what gives a painting its drama. Try two techniques together first, see how they interact, and add a third only when the first pairing feels familiar.
These ten techniques give you a wide range to play with, and the fastest way to learn them is to make small studies and combine them freely. The world is waiting for your artistic voice, so the best next step is to put a brush, or a knife, in your hand. Our free Two Week Challenge is a guided way to start making textured paintings instead of just reading about them. When you want to keep going, the rest of the oil painting techniques collection is here whenever you are.
Frequently asked questions
What are texture painting techniques?
Texture painting techniques are methods that build physical or visual surface on a canvas so the work reads with depth instead of looking flat. They range from thin translucent washes and glazes to thick palette knife ridges, drips, spray, mark-making, and collage. Most artists combine several of them in one piece rather than relying on a single method.
How do you add texture to acrylic paintings?
The fastest ways to add texture to acrylic paintings are washes, drip paint, palette knife work, and collage. Dilute acrylic with water for translucent layers, thin it further or use high flow acrylic for drips, load a palette knife to lay paint on thick, or press in paper and fabric with gel medium. Acrylic dries fast, so you can layer these in one session.
What tools create the best texture in painting?
Palette knives, stiff brushes, sponges, squeeze bottles, stencils, and everyday objects like a credit card edge or your own fingers all create strong texture. The tool matters less than how you use it: drag for ridges, dab for grain, flick for spatter. Keep a few non-brush tools on your table and reach for them when a passage feels flat.
What is the difference between real texture and visual texture?
Real texture is physical, you can feel the ridges and grooves the paint leaves, like palette knife work or molding paste. Visual texture is the illusion of surface created with marks, glazes, and contrast on a smooth canvas. Both add depth, and many paintings use a mix of the two so the eye and the light both have something to catch.
Do I need special supplies to start painting with texture?
No. You can start with paint you already own, water for washes, and one palette knife or even a credit card for thicker marks. Texture is more about technique than gear. As you go you may want high flow acrylic for clean drips or gel medium for collage, but none of that is required to make your first textured painting this week.
What to practice this week
- Take one small canvas and paint the same simple shape three times: once as a flat fill, once with a palette knife laid on thick, and once built from translucent washes, then compare how each one catches the light.
- Choose two techniques from this list that feel different from each other, like drip paint and collage, and combine them in a single study to see how layering builds depth.
- Spend ten minutes on mark-making alone: cover a scrap surface with lines and marks made by a palette knife, a credit card edge, and your fingers, with no goal except to learn what each tool does.
Supplies used

About the author
More from Elli