Painting Techniques: 35 Types Explained with Examples
Every major way to put paint down, move it around, or take it off, organized into five families so you can find the technique your painting needs.

A painting technique is a repeatable way of putting paint down, moving it around, or taking it off. Learn enough of them and you stop fighting your materials and start making decisions instead. This guide covers 35 techniques in five families (acrylic, oil, palette knife, texture, and pastel) with what each one does and when to reach for it.
You do not need all 35 to make strong work. You need a working vocabulary, so that when a passage calls for soft atmosphere or sharp texture, your hands already know a way to get there.
What are the main types of painting techniques?
Most painting techniques fall into five families: acrylic methods, oil methods, palette knife work, texture techniques, and pastel techniques. The families overlap. Scumbling, sgraffito, and subtraction each appear in more than one medium, because the underlying idea (let a lower layer speak through an upper one) is bigger than any single material.
A useful way to sort them is by what they do. Some techniques build structure, like blocking in and underpainting. Some create surface, like impasto knife work and collage. Some modify color after the fact, like glazing and washes. Knowing which job a technique does tells you when to use it. For deeper dives into any of these, the oil painting techniques hub collects our full guides in one place.
What are the essential acrylic painting techniques?
The five acrylic techniques worth learning first are subtraction, chiaroscuro, scumbling, alla prima, and fingerpainting. Acrylics dry quickly, work on almost any surface, and are water soluble while wet but water resistant once dry. That speed makes them ideal for experimenting: you can try a technique, evaluate it, and paint over it within the hour. If you are still deciding between mediums, start with the 5 key differences between acrylics and oil paint.
- Subtraction. Apply a thicker layer of acrylic, then lift paint off with a cloth, sponge, or brush while it is still wet. The exposed underlayer becomes your highlights and texture. Try it for pulling light back into a sky you have painted too dark.
- Chiaroscuro. Build strong contrast between light and dark to model volume and three-dimensional form. This is the classic route to drama: think of a portrait lit hard from one side, the far cheek falling into shadow.
- Scumbling. Drag a thin, opaque layer of lighter paint over a darker dry layer with a nearly dry brush, letting the underlayer show through. The broken, hazy result suits clouds, foliage, and atmosphere, and it works in oil just as well.
- Alla prima. Paint wet into wet and finish in a single session. Because nothing has time to dry, edges blend naturally and the brushwork stays spontaneous. It is the technique of quick, energetic studies.
- Fingerpainting. Apply paint directly with your fingers for organic, expressive texture. It sounds primitive, and that is its strength: nothing between you and the surface, marks no brush can repeat.
Which oil painting techniques should you learn first?
Learn blocking in, underpainting, and dry brush first, then add sgraffito, stippling, subtraction, glazing, and washes as your paintings demand them. Oil rewards patience. Its slow drying time is the price you pay for unmatched depth, blendability, and richness, which is why it has held painters from the old masters to working artists today.
- Blocking in. Lay down the basic shapes and colors of your composition with broad strokes before any detail. It establishes structure and color relationships early, so the painting stays balanced as it develops.
- Dry brush. Load very little paint and pull scratchy, broken strokes that let the layer beneath show through. It excels at hair, grass, weathered wood, and any fine texture that needs delicacy.
- Sgraffito. Scratch into a layer of wet paint with a tool to reveal the layer underneath. The result is sharp, defined line work: branches against a sky, the rigging of a boat, pattern in fabric.
- Stippling. Build a passage from small dots made with the tip of the brush. Stippling renders skin, foliage, and fabric with a detailed, lifelike quality that flat strokes cannot match.
- Underpainting. Start with a monochromatic layer that settles your values and composition, let it dry, then build color on top. The value structure underneath holds the whole painting together.
- Subtraction. As in acrylic, remove wet oil paint with a cloth or brush to expose what lies beneath. Because oil stays open longer, you have hours to carve lights out of a dark passage.
- Glazing. Brush a thin, transparent layer of color over a fully dry layer to shift its hue and deepen it. Glazes create luminosity, and they steer space: cool glazes push a subject back, warm glazes bring it forward.
- Washes. Dilute the paint heavily and float a transparent veil over the surface. Washes build soft backgrounds and gradual color, perfect for atmospheric depth in the early stages of a painting.
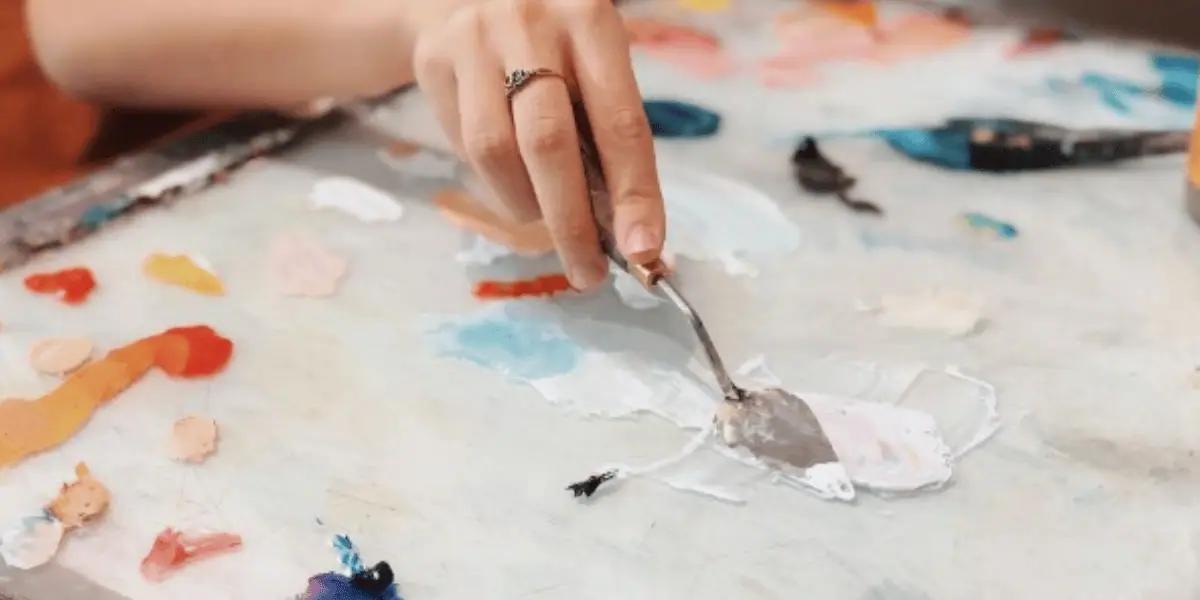
How do you paint with a palette knife?
You paint with a palette knife by spreading, scraping, layering, mixing, impressing, and dabbing, six moves that cover nearly everything the tool can do. A knife puts down clean, unmixed color fast, covers canvas quickly, and never causes the muddy overblending a brush can. Van Gogh built entire passages this way. For the full breakdown with exercises, see our guide to palette knife painting techniques.
- Spreading. Use the flat of the blade to pull paint smoothly across the canvas in even layers. The result is a sleek, modern surface, like icing a cake with color.
- Scraping. Drag the edge to remove paint and reveal the colors underneath. Scraping creates rough, broken texture and exposes the painting’s history in a way that feels alive.
- Layering. Build paint up in successive knife strokes, wet over tacky over dry. Thick layered passages catch real light and give the surface physical dimension.
- Mixing. Blend colors partially, on the palette or directly on the canvas, so streaks of pure pigment survive in the stroke. The half-mixed color is where the energy lives.
- Impressing. Press the edge of the knife into wet paint to stamp lines and patterns. It is a fast way to suggest grasses, branches, or architectural edges.
- Dabbing. Touch the tip of the knife to the surface repeatedly, leaving small peaks and points of paint. Dabbing builds sparkle and detail, like light breaking on water.
How do you add texture to a painting?
You add texture by building up layers and varying your marks, using any tool that leaves an interesting trace. Texture turns a flat canvas into something the eye wants to explore, and it is one of the fastest routes to a personal visual language. These methods shine in expressive and abstract painting techniques, but they will sharpen representational work too.
- Gesture marks. Make loose, sweeping strokes that record the movement of your whole arm. Gesture brings energy and life to a passage that has gone stiff.
- Splatter and splash. Flick or throw paint at the canvas for spontaneous, scattered marks. A splattered layer reads as rain, stars, sea spray, or pure motion.
- Knife texture. Borrow the palette knife moves above to lay thick, sculptural strokes into key passages. Even one knife passage in a brush painting changes how the surface reads.
- Mark making. Experiment with unconventional tools (combs, cardboard edges, rags, sticks) to discover marks a brush cannot make. Collecting your own marks is collecting your own handwriting.
- Fake writing. Scrawl illegible script or symbols into a layer of the painting. The eye reads it as meaning just out of reach, which adds mystery and intimacy.
- Stencil and masking. Block areas off to create crisp, defined shapes and patterns against looser passages. The contrast between hard stencil edges and soft paint is the point.
- Collage. Adhere papers and materials into the painting before or between paint layers. Collage gives you instant history: surfaces that look like they have lived.
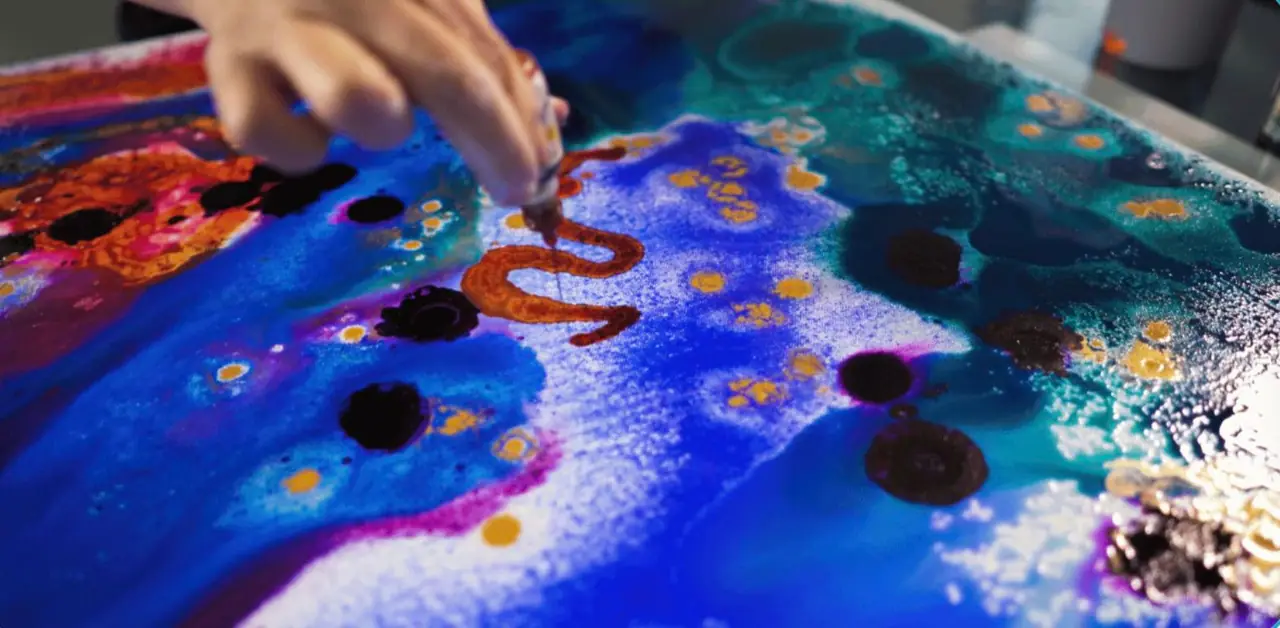
- Ink and spray bottle. Drop acrylic ink onto the surface and mist it with water for fluid, watercolor-like blooms, or use alcohol inks with an alcohol spray for vivid flowing patterns. Both create atmospheric movement you cannot brush on.
- Drip painting. Load a passage with fluid paint and let gravity draw it down the canvas. Drips add organic line and a sense of time passing inside the picture.
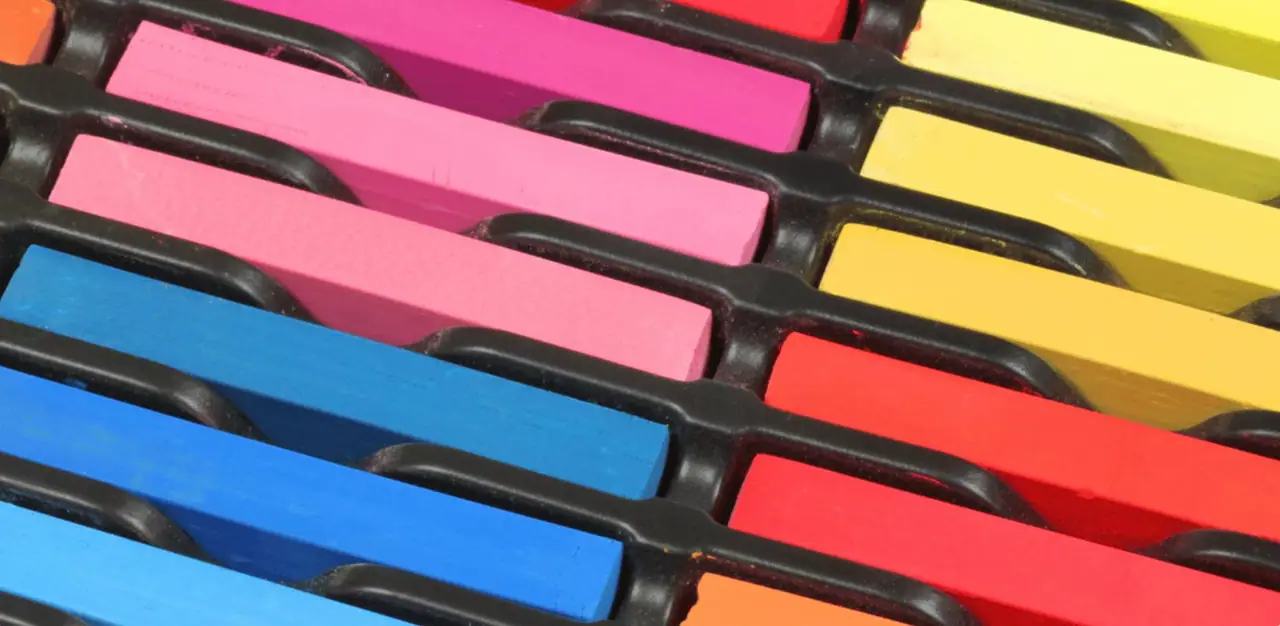
What are the best pastel painting techniques?
The core pastel techniques are blending, layering, scumbling, feathering, cross-hatching, sgraffito, and pointillism. Pastels apply pure pigment directly, with no brush and no drying time, which is why the Impressionists loved them for capturing fleeting light. Degas and Cassatt built some of their most tender work in pastel, and the medium’s portability made it a natural companion for painting outdoors. If that era pulls at you, start with our 4 tips for painting like an Impressionist.
- Blending. Smooth colors together with a finger, blending stump, or tissue, or place colors side by side and let the eye mix them. Work light to dark; working dark to light muddies the color.
- Layering. Build intensity by applying pastel in successive passes, lighter colors first, darker shades over them. The buildup creates rich, dimensional color a single pass cannot reach.
- Scumbling. Drag one stick lightly across a layer of another color so it catches only the high points of the paper. The broken color suits rocks, foliage, and clouds.
- Feathering. Use short, light, parallel strokes to lay color in delicate filaments. Feathering renders hair, fur, and grassy fields with convincing softness.
- Cross-hatching. Stroke in one direction, then cross it at an angle to build tone and texture gradually. It gives you control over how dense and dark a passage becomes.
- Sgraffito. Lay down a solid pastel layer, then scratch through it with a pointed tool or knife edge to expose the color beneath. Fine scratched detail reads crisply against soft pastel.
- Pointillism. Place small dots of different colors close together and let them blend optically at viewing distance. The surface shimmers in a way premixed color never does.
How do you choose which technique to learn first?
Choose by the problem in front of you, not by the list. If your paintings feel flat, glazing and underpainting will teach you depth. If they feel stiff, alla prima and gesture marks will loosen your hand. If they feel timid, pick up the knife. Every technique here serves one of the same few jobs: structure, surface, color, or energy, the raw materials behind the 7 elements of art.
Then practice it small. A technique becomes yours on the tenth try, not the first, and small studies let you reach the tenth try in a week instead of a year.
Pick three techniques from this list that you have never used and give them each one honest study this week. If you want structured practice with feedback from working artists, the 2-Week Challenge was built exactly for that first step.
Frequently asked questions
What is the easiest painting technique for beginners?
Start with washes, blocking in, and dry brush. They use simple movements, forgive mistakes, and teach you how paint behaves on a surface. Acrylics are the friendliest medium to learn them in because they dry fast and clean up with water.
What is the difference between glazing and a wash?
A glaze is a thin transparent layer applied over fully dry paint to shift its color and deepen it. A wash is heavily diluted paint used to lay in soft transparent passages, usually early in a painting. Glazing modifies what is already there. A wash builds the foundation.
Do these techniques work in both acrylic and oil?
Many do. Scumbling, sgraffito, subtraction, dry brush, glazing, and underpainting all cross over. The main difference is timing: acrylics give you minutes to work wet paint while oils give you hours or days.
What is alla prima painting?
Alla prima, also called wet-on-wet, means completing a painting in a single session while every layer is still wet. It produces spontaneous, expressive brushwork and suits artists who want energy and immediacy in their work.
What to practice this week
- Choose one technique from each of three families and test all three on one small canvas this week.
- Paint the same simple subject twice, once with brushes only and once with a palette knife only, then compare the two surfaces.
- Lay down a one-color underpainting, let it dry fully, then glaze over it and watch how a transparent layer changes the color beneath.
Supplies used

About the author
More from Elli