How to Draw a Self-Portrait Step by Step (Beginner's Guide)
A clear, beginner-friendly walkthrough that takes you from a blank page to a shaded, lifelike self-portrait using proportion guidelines anyone can follow.

To draw a self-portrait, build the face on light guidelines before you draw a single feature. Set up a mirror or a photo at eye level, sketch a circle, then divide it with a center line and a few horizontal lines that mark where the eyes, nose, and mouth belong. Once that map is in place, you draw the features over it and shade from dark to light. The structure carries the likeness, which is why a beginner can draw a convincing self-portrait on the first serious try.
Most people freeze at the idea because they believe a self-portrait takes raw talent. It does not. It takes a method, and the method below breaks the whole face into a sequence of small, measurable decisions. Drawing yourself regularly is also one of the clearest ways to watch your skill grow, because your reference is always there in the mirror.
How do you set up your workspace to draw a self-portrait?
Set up so your reference holds still and your hand stays loose. Clear the clutter off your work surface first, then grab a pencil, an eraser, and a mirror. A calm space genuinely makes the drawing easier, because you are not hunting for tools while you are trying to study a shadow.
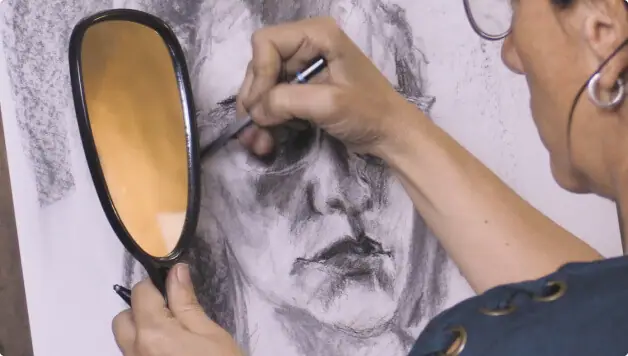
- Set up a mirror at eye level. Position the mirror directly in front of you at eye level. This angle is the simplest to measure and gives you the most accurate proportions. Add good light from a nearby lamp or window. A shadow falling across one side of your face gives the portrait a more dramatic, dimensional look.
- Photograph your pose, then draw from the photo. Once your mirror and lighting are set, take a picture of yourself in that exact position. Drawing from the photo means you stop turning your head back and forth, and it is far easier to study the values up close. A photo also lets you crop, adjust, or add elements before you commit anything to paper.
- Keep your drawing surface vertical. Place your paper near eye level on a comfortable incline. Draw with your whole shoulder, not just your hand and wrist, so your lines stay free instead of cramped. Good posture here also saves your back over a long session.
How do you map out the proportions of a face?
You map proportions by dividing the head into sections before you draw any features. This is the step beginners skip, and skipping it is exactly why faces come out wrong. Our brains are built to read faces, so they instantly notice when an eye sits too high or a nose runs too long. Light guidelines prevent that.
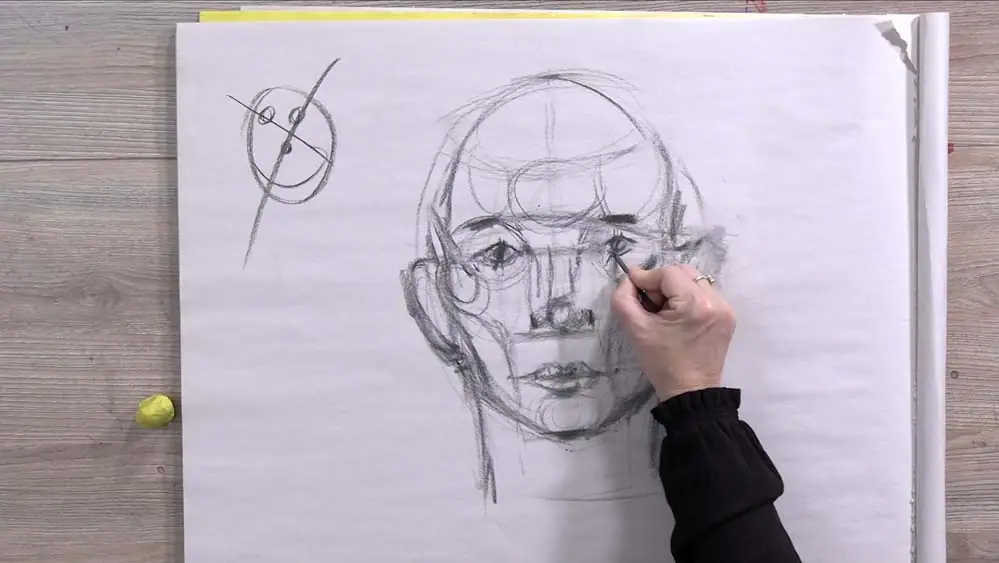
Work through these guidelines in order, keeping every line light enough to erase later:
- Draw a circle in the center of the page. This is the cranium, your foundation. A face is really just an arrangement of light and dark shapes built onto this base.
- Draw a vertical center line down the circle. This line keeps every feature centered and makes it easy to place the eyes, nose, and mouth symmetrically.
- Mark the halfway line. Measure the vertical line, then draw a horizontal line across the middle of the face. This is where the nose sits, and it aligns with the bottom of the ears.
- Connect the circle to the chin. Add four short vertical guidelines at the outer edges of where the eyes will go, and run two of them down to form the jaw and chin. Remember that each line is only a place marker. You will erase them all.
- Add the eye line. You should now have a cross dividing the face into four parts. Draw another horizontal line across the upper third of the face. This marks the center of the eyes.
- Add the nose line. Find the midpoint between the eye line and the chin. That point is the base of the nose. Mark it with a short horizontal line that stops at the inner corners of the eyes.
- Add the brow line. Divide the space between the eye line and the top of the forehead to find the eyebrows, and mark that with one more light line.
Some tutorials use fewer guidelines than this. The extra structure is worth it while you are learning, because it gives you a checkpoint at every feature instead of leaving you to guess. If you want to go deeper on clean measurement and confident linework, our guide to essential oil painting techniques carries the same foundation into paint.
How do you draw the eyes, nose, and mouth?
You draw the features into the map you just made, working from the largest shapes down to the small details. Faces are unique to each person, so accuracy in placement matters more than rendering at this stage. Keep everything loose for now.
- Block in the eyes. Along the eye line, mark five equal spaces (the gap between the eyes is roughly one eye wide). Sketch an almond shape for each eye between your guidelines. Lay in the darkest values first: the crease above the eye, the line below it, and the iris. Then add the mid-tones, which are the whites of the eye and the surrounding skin. Do not finish them yet.
- Fill in the eyebrows. Everyone’s brows differ, but most carry an arch that begins a little wider than the eye. Lightly sketch the shape, then add thin dark strokes inside it.
- Build the nose. From the inner corner of each eye, drop a line to the nose guideline. That width is the base of the nose. Draw the base, then curve the sides upward toward the brow.
- Shape the mouth. The line below the nose marks the center of the lips. Sketch the upper lip from three small circles, two on top and one below, and follow their curves. For the lower lip, draw a single arch and connect the ends.
- Place the hairline. Add the hairline in the upper third of the face, above the brows. Hairlines vary from person to person, so match your own.
For a closer study of the single feature most beginners struggle with, our walkthrough on how to paint eyes takes the same dark-to-light logic into full color.
How do you shade a self-portrait for realism?
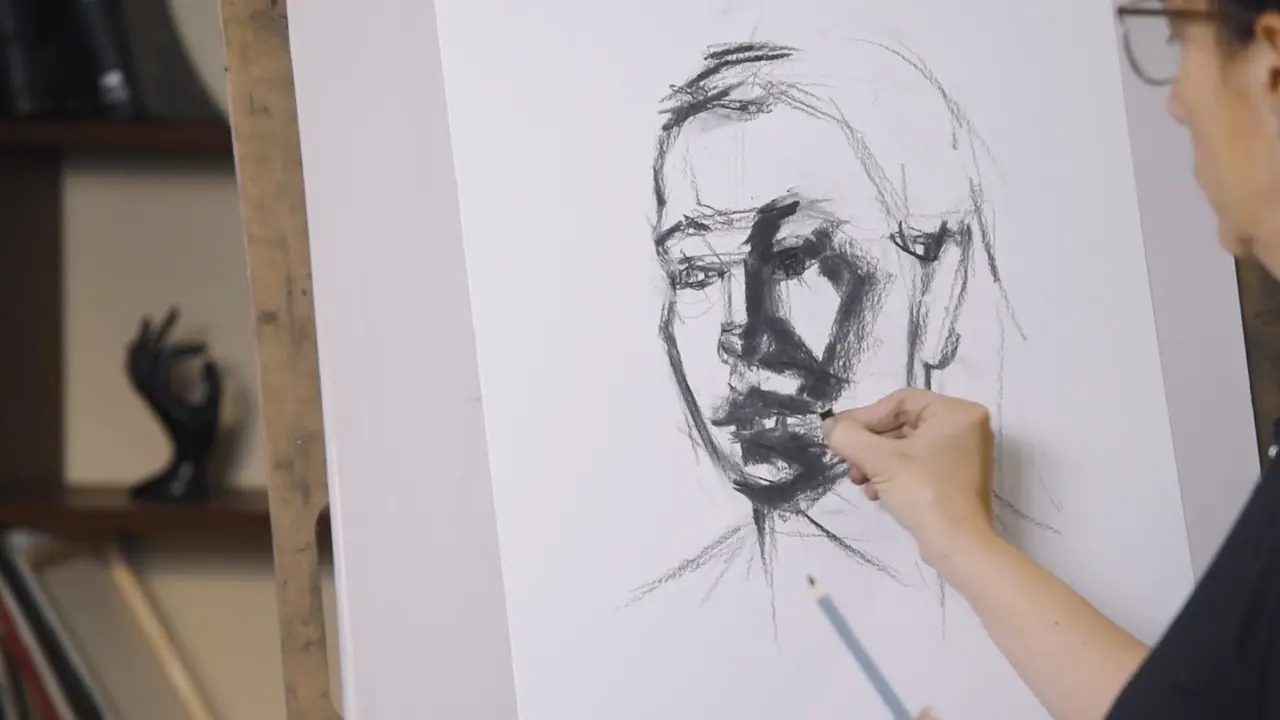
You shade by building value from dark to light, which is the same principle that gives any drawing its sense of form. By now you have dark outlines for every feature. The job from here is to turn flat lines into rounded, lit volume.
- Erase the guidelines. Refine your linework by removing the proportion grid and any stray marks. Smooth the transitions on the face with a kneaded eraser, a blending stump, or even a fingertip so the skin reads as soft shifts rather than hard lines.
- Set your darks, then your mid-tones. You already placed the darkest values, so work toward the middle next. Squint at your reference: squinting collapses the detail and lets you see the true mid-tones without distraction. Lay those in across the eyes, nose, and mouth.
- Shape the jaw and cheeks. Find the planes of the face and fill in their actual values. This is what gives the head structure and pulls it forward off the page.
- Lift the highlights and add the finest details. Use a kneaded eraser to pull out the brightest points. For the sharpest sparkle in the eyes and on the lips, white charcoal or an acrylic marker reads brighter than the paper. Then add the last fine marks, like individual eyelashes drawn with a sharp pencil in light, varied strokes.
- Step back and protect the drawing. Stand back to catch anything that needs fixing, because sitting too close for too long makes one area drift out of step with the rest. When it is finished, a light coat of spray fixative keeps a pencil portrait from smudging. That step is optional, but it keeps the work looking good for years.
What should you do after your first self-portrait?
Frame it, then draw the next one. A finished self-portrait belongs on a wall, and a small gallery of them is one of the most honest records of an artist growing. The likeness will sharpen with every attempt, because the method stays the same while your eye gets faster.
When you want the portrait to last beyond a sketchbook, photographing it well matters as much as drawing it. Our guide on how to photograph your art covers lighting it cleanly, which is doubly useful since the same skill helps you set up reference photos for your next drawing. And if you want to understand why these steps work at a deeper level, the principles behind every one of them live in the seven elements of art.
Drawing yourself is the gentlest place to start a portrait practice, because your model never gets tired and never leaves. Keep the guidelines light, build your values from dark to light, and let the structure do the hard part. When you are ready to carry these foundations further, the rest of our oil painting techniques collection is waiting, and the 2-Week Challenge is a kind place to take the next step.
Frequently asked questions
How do you draw a self-portrait from a photo?
Take a photo of yourself in your mirror setup so your pose and lighting hold still, then draw from the photo instead of the mirror. Working from a photo means you stop turning your head back and forth, and you can study the values up close, which makes a self-portrait far easier for beginners.
What is the easiest way to draw a self-portrait for beginners?
The easiest way is to build the face on light guidelines before you draw a single feature. Start with a circle, add a center line and a few horizontal lines for the eyes, nose, and mouth, then draw the features into that map. The structure does the hard work so the likeness falls into place.
How is drawing yourself different from drawing any portrait?
The method is identical. The only difference is your reference: a mirror or a photo of your own face instead of someone else's. The same proportion grid, the same feature placement, and the same dark-to-light shading work for any face, including your own.
What to practice this week
- Draw the proportion grid (circle, center line, eye line, nose line, mouth line) five times from memory until placing the features feels automatic.
- Make one quick study from a mirror and one from a photo of the same pose, then compare which gave you cleaner values.
- Shade a single eye from dark to light, using a kneaded eraser to lift the highlight, before you attempt a whole face.
Supplies used

About the author
More from Elli