An Art Study Plan for Beginners: Learn to Draw and Paint at Home in 12 Months
Drawing first, then value, then oil, then your own style. Here's the order we teach it in, month by month, with the hours that make it work.
Learn to draw first, then light and dark, then color and oil, then harder subjects, and save your own style for the last part of the year. This plan is built so a complete beginner painting about 20 hours a week can go from pencil lines to a small series of their own paintings in twelve months.
I’m Elli Milan. I’ve painted for a living since 1996, and I run Milan Art Institute, an online art school. The month by month plan below follows the order of our own program, the Mastery Program. If you’re teaching yourself at home, the order matters more than which videos you watch.
What’s the best order to learn to draw and paint?
Drawing, then value, then color, then style. Each skill sits on top of the one before it.
A painting built on a bad drawing has a problem brushwork rarely fixes. Color you can’t see the value of (how light or dark it is) tends to turn muddy, however good your paint is. And a style needs skill to speak with. That’s why we group our lessons by what a skill needs underneath it, not by medium. (What the Mastery Program teaches lays out the whole order.)
When students skip ahead to the fun part, they often end up circling back to fill the gap, and that costs them more time than doing it in order.
What supplies do you need to start?
Not much for the first two months: graphite pencils, a newsprint pad, a sketchbook, a kneaded eraser, a few sticks of charcoal, and a small set of acrylics with three or four brushes. Add oil paints, an odorless solvent and a few canvases or panels around month three, and new materials like inks and spray paint as you reach them in month nine. Essential art supplies has the full list.
How many hours a week should you study art?
About 20 hours a week if you want to finish this plan in a year. That’s about three hours a day, or two hours on weeknights and five on each weekend day.
I’m hardcore about this, and I believe most people can find 20 hours. We have single moms with young children in our program who work and still paint 20 hours a week. If you can’t, the plan still works at a slower pace:
| Hours a week | Skill building (months 1 to 8) | Style and a small series (months 9 to 12) |
|---|---|---|
| 20 | About 8 months | About 4 months |
| 10 | About 16 months | About 8 months |
| 5 | About 32 months | About 16 months |
These are estimates from our program’s pace. It’s designed to be finished in a year, and students take 12 to 24 months depending on their hours. They count hours with a pencil or brush in your hand. Watching tutorials helps, but it doesn’t count.
Paint on a schedule, not when you feel inspired. If you have a bad painting day, paint anyway. (More on the math in how long it takes to learn to paint.)
Your 12-month art study plan, month by month
Here’s the plan at 20 hours a week. Each phase names the skills to build, what to practice, and how to tell you’re ready to move on. You don’t need to be perfect, but you do need to feel fairly confident.
Months 1 and 2: Drawing, proportion and value
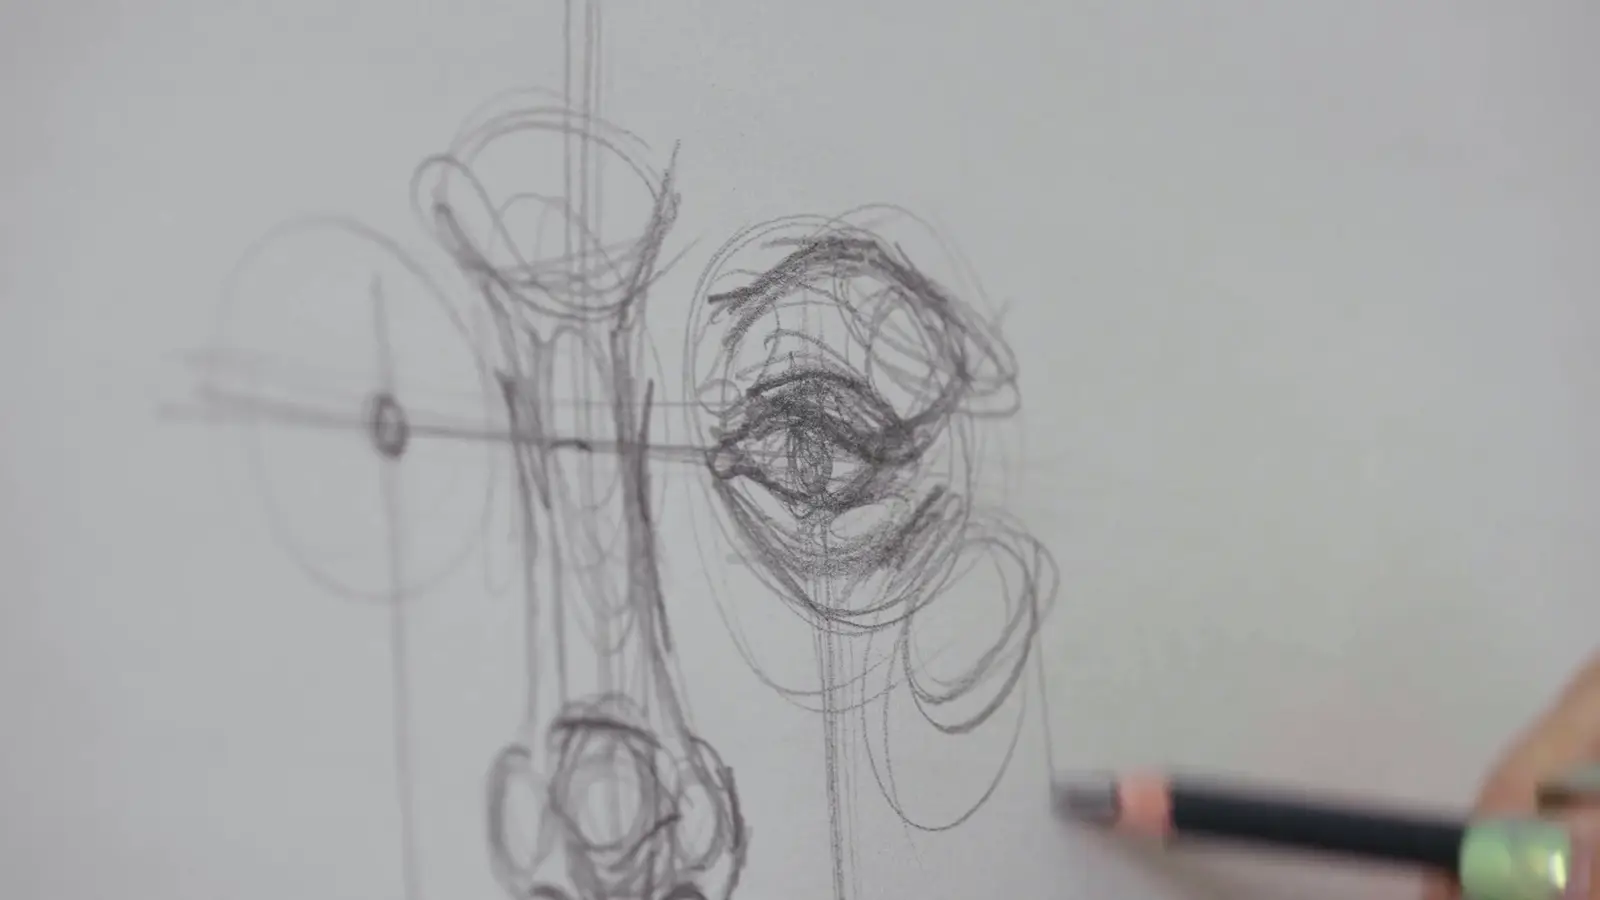
Start with lines. Hold your pencil far back from the tip, keep your grip light, and draw from your shoulder instead of your wrist. Practice straight lines, diagonals, and lines that go from dark to light, on newsprint. Ten minutes before each session is enough. It’ll feel awkward at first, and that’s normal.
Then:
- Contour drawing. Draw the edges of a simple object slowly while you keep your eyes on it.
- Proportion and measuring. Draw a simple object like a shoe, first from a photo, then from life. Measure with your pencil held at arm’s length.
- Value and shading. Shade a strip of boxes from white to black, then shade simple objects so they look round.
- Charcoal and composition. Charcoal makes big darks fast, and it teaches you to see shapes instead of details.
- Your first paintings. Paint a simple subject in acrylic, one color plus white, so all your attention goes to light and dark.
Ready to move on when you can draw a shoe from life that looks like that shoe, and shade an apple so it looks round. Drawing fundamentals goes deeper on all of these.
Months 3 and 4: Color and oil painting
Move to oil now. It stays wet long enough to blend and fix mistakes, which makes the next skills easier. Use an odorless solvent, keep the room aired out, and keep used rags in a closed metal can.
- Color theory and mixing. Mix the colors of real objects and check each one against the object. (How to mix colors helps.)
- Brush care and setup. Learn to clean brushes properly and set up a palette you can find your way around.
- Toned underpainting. Cover the canvas in a thin dark tone and lift the lights back out with a rag.
- Glazing. Lay thin, see-through layers of color over a dry layer to deepen it.
- Alla prima still life. Paint a still life in one sitting, wet into wet. (Alla prima is Italian for “at first attempt.”)
Ready to move on when you can mix the color of a lemon without it turning to mud and finish a small still life in one sitting. New to oil? Read how to start oil painting first. And expect an ugly stage in the middle of almost every painting. It’s normal. (The ugly stage of painting explains why.)
Months 5 and 6: Harder subjects
Now push your drawing and your paint further:
- Gesture drawing. Quick drawings of people in a minute or two, to catch movement.
- Foreshortening. Drawing things that point toward you, like an arm reaching out.
- Fat over lean. The oil painting rule that each layer needs a little more oil than the one under it, so it doesn’t crack.
- Perspective and cityscapes. Buildings and streets that sit back into space.
- Impressionism and landscapes. Paint light and atmosphere with looser strokes.
Ready to move on when a street you draw has buildings that sit back into space, and your gesture drawings look like they’re moving.
Months 7 and 8: Limited palettes, portraits and figures
- Value mapping in black and white. Paint only in black, white and grays to test how well you see value.
- Limited palettes. Paint with only three or four colors and see how much you can do with them.
- Abstract-realism florals. Flowers painted realistically in a few spots, with loose, abstract color and brushwork around them.
- Portrait from life, then a self-portrait.
- Expressive figurative work. People painted with energy instead of every detail.
Ready to move on when you can draw and paint most of what your eye sees, faces and figures included.
Months 9 and 10: New materials
This is where you start finding your style. Try one new material every week or two: painting on paper, inks, spray paint, collage, mark making (patterns of lines, dots and scribbles used for texture) and abstract work.
Don’t skip a material because it doesn’t sound like you. The one you’d have skipped can turn out to be your favorite.
Before each new painting, do four small, quick studies on paper to try out the idea. They give you room for mistakes, and often one of them is good enough to become the painting.
Painting a realistic scene from your imagination, with no photo or object to look at, takes a lot of skill, so don’t expect it yet. If you can’t do it, use your intuition somewhere else: in your color choices, your brushstrokes, or the photos you take to paint from.
Months 11 and 12: Your style and a small series
Lay out everything you’ve made since month 9 and look for what you keep coming back to. Maybe it’s a material, a subject, a color family or a kind of brushstroke. Write it down in a few lines. That’s the start of your style.
Then paint a small series in it: five or six paintings that look like they belong together. That’s the beginning of a portfolio, which is a set of finished paintings you’d show a gallery or put up for sale. How to develop your own art style walks through this part.
How long should each painting take while you’re learning?
Keep each sitting to three hours at most, and most learning paintings to one to three sittings. If one painting takes you 20, 30 or 40 hours while you’re learning, you’re overworking it.
Bad paintings are a guarantee while you’re learning. Every artist has a stack of them. A not-so-great painting finished in the time you gave it teaches you more than a perfect one you fussed over for a week, because fussing often means repeating old habits.
Once you reach new materials, most paintings should take three to nine hours. More than ten usually means you’re covering up too much. If they’re coming fast, paint two per material instead of one.
How do you keep a self-study plan on track?
Put it on one page and tape it to your studio wall. Then plan three months at a time, not twelve.
We teach artists finishing our program to plan their first year as professionals this way, and it works just as well for a learning year:
- The big picture at the top. What do you want to paint a year from now?
- One number. Hours a week is the easiest one to track.
- Four quarters, one sentence each. For example, “drawing and value,” “color and oil,” “harder subjects,” “materials and style.”
- Plan only the quarter you’re in. You’ll know more by the next one. A week or two before each quarter ends, look back and plan the next three months.
- Share it with someone. Once another person knows your plan, you’re more likely to stick to it.
Two more rules we give our own students. Do the plan in order, even the months you’d rather skip. And if you finish a month with a hole in your skills, go back and redo that work before moving on. You’ll need every skill when you start finding your style.
What do you lose teaching yourself, and how do you fix it?
Mostly feedback. A teacher can spot in a minute what might take you a month to see on your own. You can build some of it in:
- Check your work against the reference. Prop the photo or object right next to your painting and compare shapes, darks and edges.
- Look at it in black and white. Take a photo of your painting in grayscale. If it looks flat, your values need work.
- Step back. Look from across the room. Most mistakes jump out from a distance.
- Find one honest person. A painting friend, a class or an online group who’ll tell you what isn’t working.
If you’d like a teacher’s eyes on your work from day one, our Two Week Challenge is five pieces taken from Part 1 of the Mastery Program, so it covers the start of month one. The video lessons open the day you join, and a working artist coach writes back on each piece you post. It’s $99, paid once. And if you’re wondering whether you need a degree instead, read is art school worth it?
Where do you start this week?
Write down your hours, block them on your calendar for the next four weeks, and start with ten minutes of straight lines. Month one starts with a pencil, and a year from now you could have a small series of your own paintings leaning against the wall.
Frequently asked questions
Can you teach yourself to paint at home?
Yes. Plenty of painters learned at home from books and videos. What you lose without a teacher is feedback, so build it in: compare every study to your reference side by side, photograph your work in black and white to check your values, and find one person who will tell you the truth about it.
What should I learn first, drawing or painting?
Drawing. It teaches you to see proportion and shape, and every painting sits on top of a drawing. Spend your first two months on line, contour, measuring and shading, with a few simple paintings in one color plus white near the end so you're still only thinking about light and dark.
How many hours a week do I need to study art?
About 20 hours a week gets a complete beginner through this plan in a year. At 10 hours a week it takes about two years, and at 5 hours about four. Steady hours on a schedule beat long sessions whenever you feel inspired.
Should I start with acrylic or oil?
Start your first paintings in acrylic, because it dries fast and cleans up with water, then move to oil around month three. Oil stays wet long enough to blend and fix mistakes, which makes layering and glazing much easier to learn.
When should I start working on my own style?
After the basics, usually around month eight or nine at 20 hours a week. Style comes from trying lots of materials and noticing what you keep coming back to, and that only works once your skills can keep up with your ideas.
What to practice this week
- Write down how many hours a week you can paint, then put them on your calendar for the next four weeks.
- Do ten minutes of straight lines on newsprint before every drawing session this week, holding the pencil far back and moving from your shoulder.
- Write your one-page plan: what you want to paint in a year, your hours a week, and the three months you're starting with. Tape it up where you paint.
Supplies used
About the author
More from ElliKeep learning
- Best Online Art Schools for Adults: 6 Compared by Price, Feedback and What They Teach
- How Long Does It Take to Learn to Paint? A Timeline by Hours a Week
- Art Degree vs Online Art School: Cost, Time, What You Learn and What You Get at the End
- How to Start With Milan Art: Free First, Then $99, Then Decide