Studio Practice: What It Means and the Habits Every Artist Needs
A studio practice is how you set up, care for, and show up to your creative space. Here is what the term means and the practical habits that turn a room into real momentum.

A studio practice is the set of habits, routines, and systems an artist uses to show up and make work consistently. It is not the room itself. It is how you light and organize your space, how you begin and end each session, and how you protect your creative time, all of it working together so that making art becomes something you do reliably rather than only when inspiration shows up. Your studio is where ideas take shape and momentum is built, and the way you care for it directly affects how you grow.
That distinction matters more than it sounds. Plenty of people have a beautiful space and almost no practice, and plenty of working artists make remarkable things from a spare room or a corner of a garage. What follows is a practical guide to the habits that turn a space into a real practice: lighting you can trust, organization that supports flow, rituals that lower resistance, and the kind of consistency that holds when life gets busy.
What does a studio practice actually mean?
A studio practice means the habits and routines that govern how you work, not just where you work. The word practice is doing real work here. It points to something you do over and over, the way a musician practices or a runner trains. Your studio practice is the sum of those repeated choices: when you show up, how you set up, how you start, how you stop, and how you take care of the space and yourself in between.
Understood that way, a studio practice is something you can build deliberately, regardless of how much room or money you have. A consistent practice in a small apartment will produce more growth than a gorgeous studio you rarely enter. The rest of this guide breaks the practice into its parts, but hold onto the core idea: this is about how reliably you show up, not how the room looks in a photo.
How do you set up lighting in your studio?
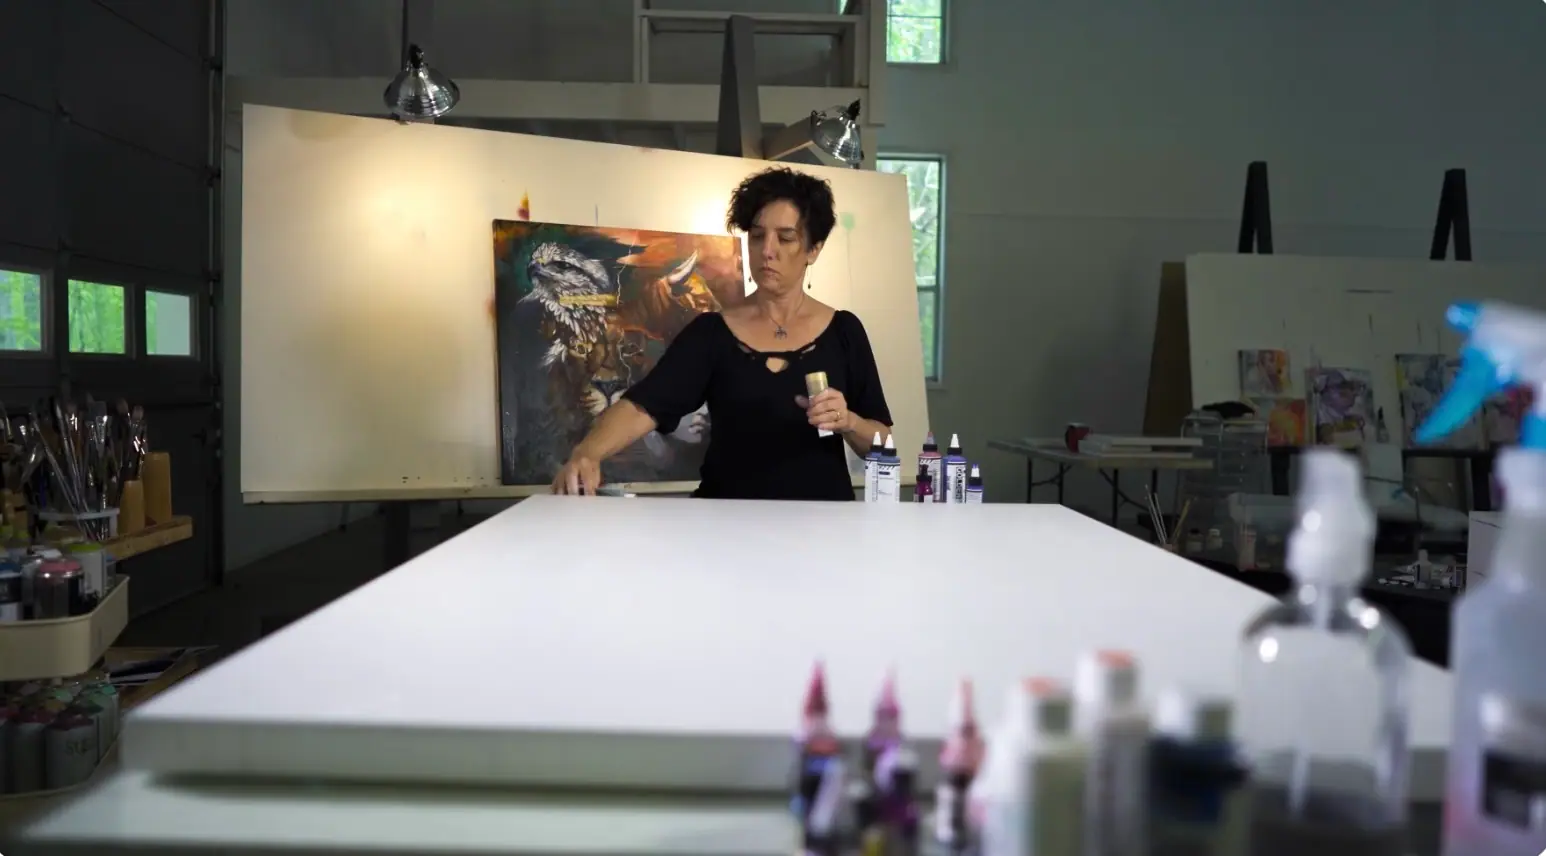
Set up your lighting so you can see true color and value without strain, because lighting is one of the most important and most overlooked parts of a functional studio. Poor lighting distorts color, creates eye strain, and makes long sessions exhausting. Good lighting lets you trust what you see, and when you can trust what you see, you make stronger artistic decisions. Three priorities cover most situations.
- Prioritize natural light when possible. North-facing light is often considered ideal because it stays consistent and indirect throughout the day. If you have a window, position your workspace so light falls evenly across your surface, and avoid direct sunlight hitting the artwork, which creates glare and harsh shadows.
- Use neutral artificial lighting. When daylight is limited, choose daylight-balanced bulbs, typically labeled between 5000K and 6500K, so colors read true. Clamp lights, floor lamps, or adjustable arm lamps all work well at home. Angle them slightly toward your work rather than straight overhead to cut glare, especially with paint, graphite, or mixed media.
- Create layered lighting. Professional studios often combine general ambient light that fills the room with focused task light aimed at the artwork itself. That layered setup gives you flexibility for different times of day and different stages of a piece.
Good lighting is not about perfection. It is about consistency and clarity. For a deeper setup walkthrough, see our guide to the best lighting for an art studio.
How do you keep your art studio organized?
Organize your studio so it supports focus and flow, not so it looks tidy for its own sake. Many working artists credit their consistency to a few simple systems that reduce friction and keep momentum going during a session. Three habits do most of the work.
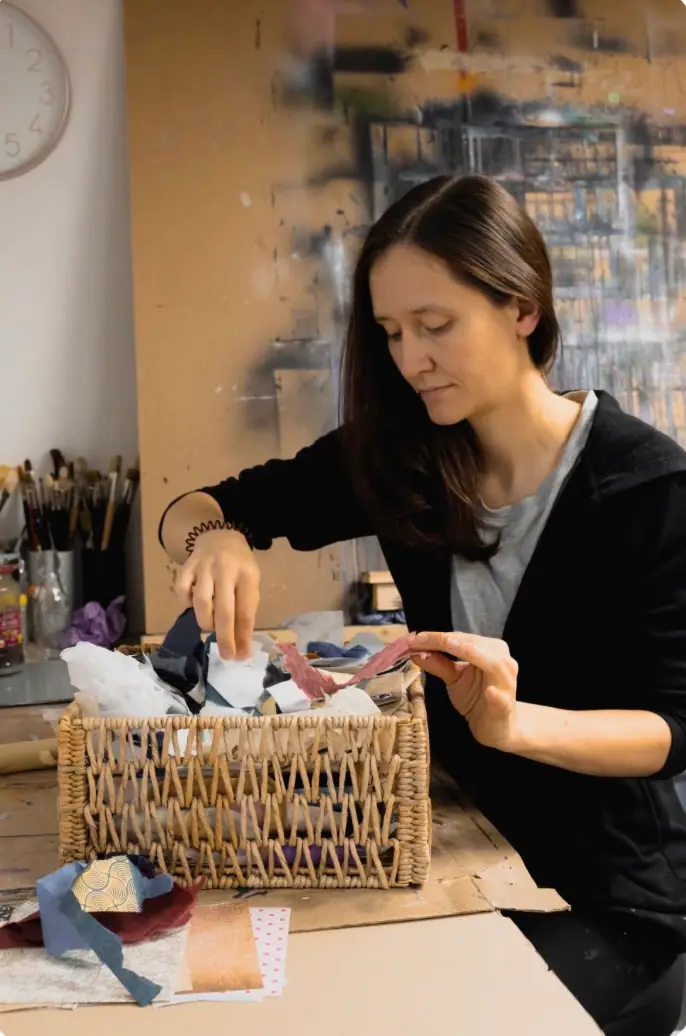
- Define zones in your studio. Even in a small space, separate areas for creating, storing supplies, drying work, and documenting finished pieces. When everything has a place, you spend less time searching and more time making.
- Store supplies by frequency of use. Keep your most-used materials within arm’s reach, and put less-frequent tools higher or farther away. Clear bins, open shelving, and labeled drawers let you see what you have, and when you can see your materials, you actually use them.
- Reset your studio regularly. A quick reset at the end of each session transforms your next start. Clean brushes, wipe surfaces, and return tools to their place. This small habit reinforces a professional mindset and sets up a smoother beginning next time.
An organized studio sends a quiet signal to yourself. It says your work matters and that you honor it consistently.
What are some home studio ideas for artists?
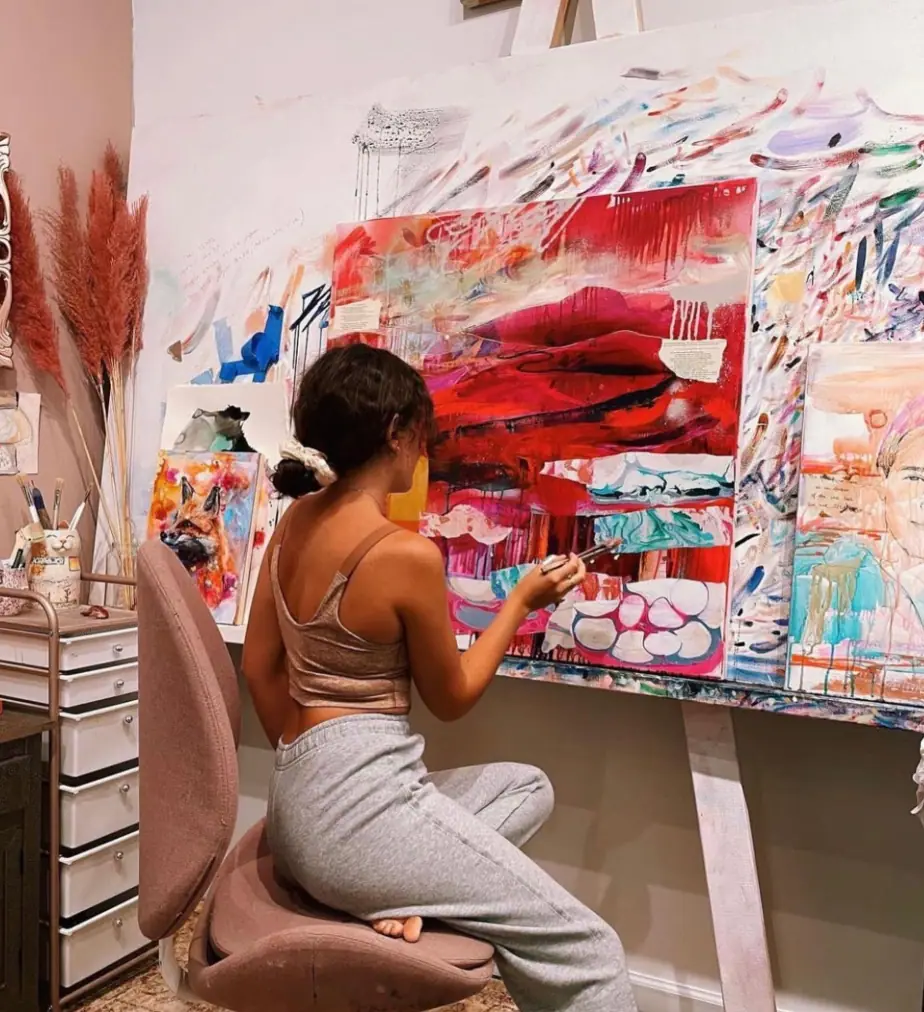
You do not need a large or expensive space to build a meaningful studio practice. Many artists work from home and make deeply impactful work. Here are five home studio setups to inspire yours.
- The multi-purpose room studio. If your studio shares space with a bedroom or living area, use movable furniture and rolling carts. A foldable table, a portable easel, or a mobile supply cart lets you shift into studio mode when you need it.
- The vertical storage studio. When floor space is tight, think upward. Wall-mounted shelves, pegboards, and hanging organizers free up room while keeping supplies in reach.
- The minimalist focus studio. Some artists thrive with less around them. Keep only essential tools visible and store everything else out of sight to reduce visual noise and protect focus.
- The inspiration wall studio. Designate one wall for inspiration. Pin sketches, color palettes, references, or works in progress to keep your ideas front and center.
- The portable studio setup. If you need flexibility, build a portable kit. Store your core supplies in one container so you can work at a kitchen table, on a balcony, or in a shared space without setup fatigue.
The best home studio is the one you actually use. Design it around your real habits, not an idealized version of how you think you should work.
How do you build sustainable studio practices?
Build sustainability through consistency, not intensity. Beyond setup and organization, strong studio practices come from working regularly. Set studio hours when you can and treat that creative time with the same respect you would give any professional commitment. Document your work, reflect on your process, and let the studio evolve as your practice grows, because your needs will change and your space should change with them. A well-cared-for studio supports not just productivity but confidence. It becomes a place where ideas feel possible and progress feels natural.
What studio rituals help you start and stop?
Use simple rituals to mark the beginning and end of your work, because studio practice is also about how you enter and exit it. Small rituals reduce resistance and help you begin even when motivation is low. A starting ritual might be turning on the same music, adjusting your lights, stretching for a few minutes, or warming up with quick sketches. Ending rituals matter just as much. Cleaning brushes, photographing progress, or writing a short note about what comes next helps you close a session with clarity instead of fatigue. The two together build a frame around your work that your mind learns to trust.
How do you manage energy in the studio, not just time?
Build your practice around energy, not productivity hacks. Notice when you feel most focused, playful, or analytical, and match your tasks to those windows.
Use your high-energy moments for experimentation and decision-making, the parts of the work that demand real presence. Save lower-energy periods for organizing, prepping surfaces, or cleaning. Rest is not a reward you earn after the work. It is part of the creative cycle, and a sustainable practice plans for it rather than fighting it.
Do studio practices change for different mediums?
Yes. No two studios need to look the same, because a painter’s needs differ from a mixed-media or drawing-based practice, and traditional setups differ from those built around other tools. Design your studio around your dominant medium while leaving a little room to explore. Let the space support what you are making now, not what you imagine an artist’s studio is supposed to look like. The right setup is the one that serves your actual work.
How do you stay safe and healthy in the studio?
Care for your body as deliberately as you care for your work, because long-term creativity depends on it. Good ventilation, proper posture, and eye protection all support years of making. Adjust your table height when you can, and take breaks to stretch and move. Be mindful of fumes, dust, and repetitive motions, which add up quietly over time. These practices protect your ability to keep creating, which is the whole point of building a practice in the first place.
Why is documenting your work part of studio practice?
Documenting your work is part of being a professional artist, so build it into your practice rather than treating it as an afterthought. Set up a simple photo area, even if it is just a clear wall and natural light. Photograph works in progress, finished pieces, and experiments, and label and date what you make. Keep brief notes about materials and ideas as you go. This habit supports portfolios, exhibitions, and your own confidence, and it gives you a record of how far you have come. Our guide on how to photograph your art covers the setup in detail, and how to store paintings safely at home handles what to do with finished work once it leaves the easel.
How do you set emotional and mental boundaries in the studio?
Protect the emotional side of your practice as carefully as the physical setup, because studios hold real emotional weight. Separate your creation time from your critique time so judgment does not interrupt the making. Allow unfinished work to rest without a verdict, and give yourself permission to experiment, fail, and make pieces that never need to be shared. A healthy studio practice includes emotional safety, and that safety is often what keeps people coming back to the work. If the deeper struggle is less about the room and more about feeling stuck or unsure of yourself as an artist, our writing on how to overcome creative block goes further into it.
How do you keep a studio practice when life is busy?
Keep your practice alive with short, focused sessions, because consistency does not require long stretches of time. The artist who paints for twenty or thirty minutes a few times a week will outpace the one waiting for a free Saturday that never comes. Leave work set up when you can so starting takes seconds. Aim for short sessions during busy seasons, and lower the bar to begin: tell yourself you will only mix one color or block in one shape, and you will often keep going. Even staying lightly connected to your practice builds the kind of resilience that carries you through. Setting a clear, realistic target helps here too, which is why smart goals for artists pairs well with a busy-season practice.
How should your studio evolve over time?
Let your studio change as you grow, because a practice is a living system, not a fixed setup. Periodically reassess your space. Let go of tools that no longer serve your direction, and rearrange your layout to match new goals. A well-designed studio supports growth, but guidance, feedback, and accountability accelerate it. The most reliable way to build a consistent studio practice is to stop building it alone. If you want a structured, supported way to start, our free Two Week Challenge gives you a guided practice and real feedback from day one, and the rest of our creative block and identity collection is here when you want to keep going. A studio is only ever as alive as the practice you bring to it.
Frequently asked questions
What does studio practice mean?
A studio practice is the full set of habits, routines, and systems an artist uses to make work consistently. It includes how you set up and light your space, how you organize supplies, the rituals you use to start and end a session, and how you protect creative time. It is less about the room itself and more about how reliably you show up to it.
What makes a good art studio practice?
A good art studio practice is consistent, clear, and built around how you actually work. That means lighting you can trust, supplies stored by how often you use them, simple rituals that lower the resistance to starting, and regular sessions you treat as a real commitment. Consistency and clarity matter far more than how large or expensive the space is.
How do you set up lighting in an art studio?
Prioritize natural light when you can, ideally north-facing light because it stays consistent and indirect through the day. When daylight is limited, use neutral, daylight-balanced bulbs between 5000K and 6500K so colors read true. Layer ambient room light with focused task light on your work, and angle lights slightly to reduce glare.
How do you keep a small or home art studio organized?
Define zones even in a small space: one area to create, one to store supplies, one to dry work, one to document finished pieces. Keep your most-used materials within arm's reach and less-used tools farther away. Use clear bins, open shelving, and labels, and reset the studio at the end of each session so the next one starts clean.
How do you build a consistent studio practice?
Set regular studio hours and treat that time like any professional commitment. Use simple starting and ending rituals, work in short sessions when life is busy, and leave supplies set up so beginning takes seconds instead of minutes. Document your work, reflect on your process, and let the space evolve as your practice grows.
What to practice this week
- Run a sixty-second studio reset at the end of every session: clean your brushes, wipe your surface, and return tools to their spot so next time starts clean.
- Pick one starting ritual and one ending ritual, then use the same two every session until beginning stops feeling like a decision.
- Store your five most-used materials within arm's reach of where you actually stand to work, and move everything else farther away.
Supplies used

About the author
More from ElliKeep learning